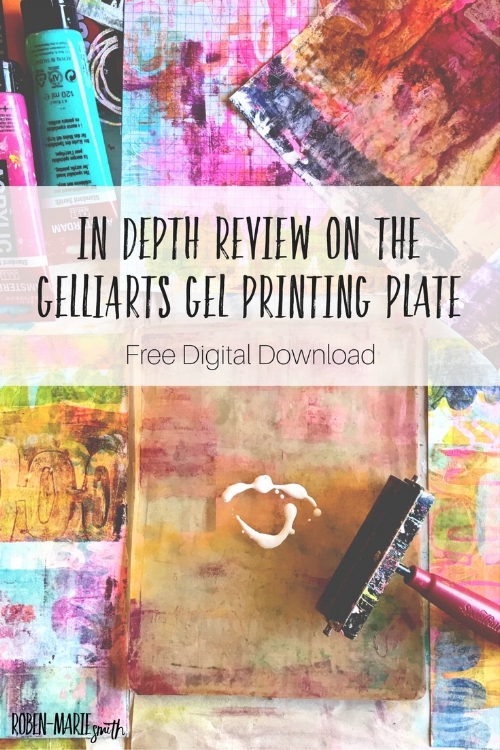
In depth review on the Gelli Arts® Gel Printing Plate
Want to learn more about how to use the Gelli® Plate and grab a free download?
Let's go...
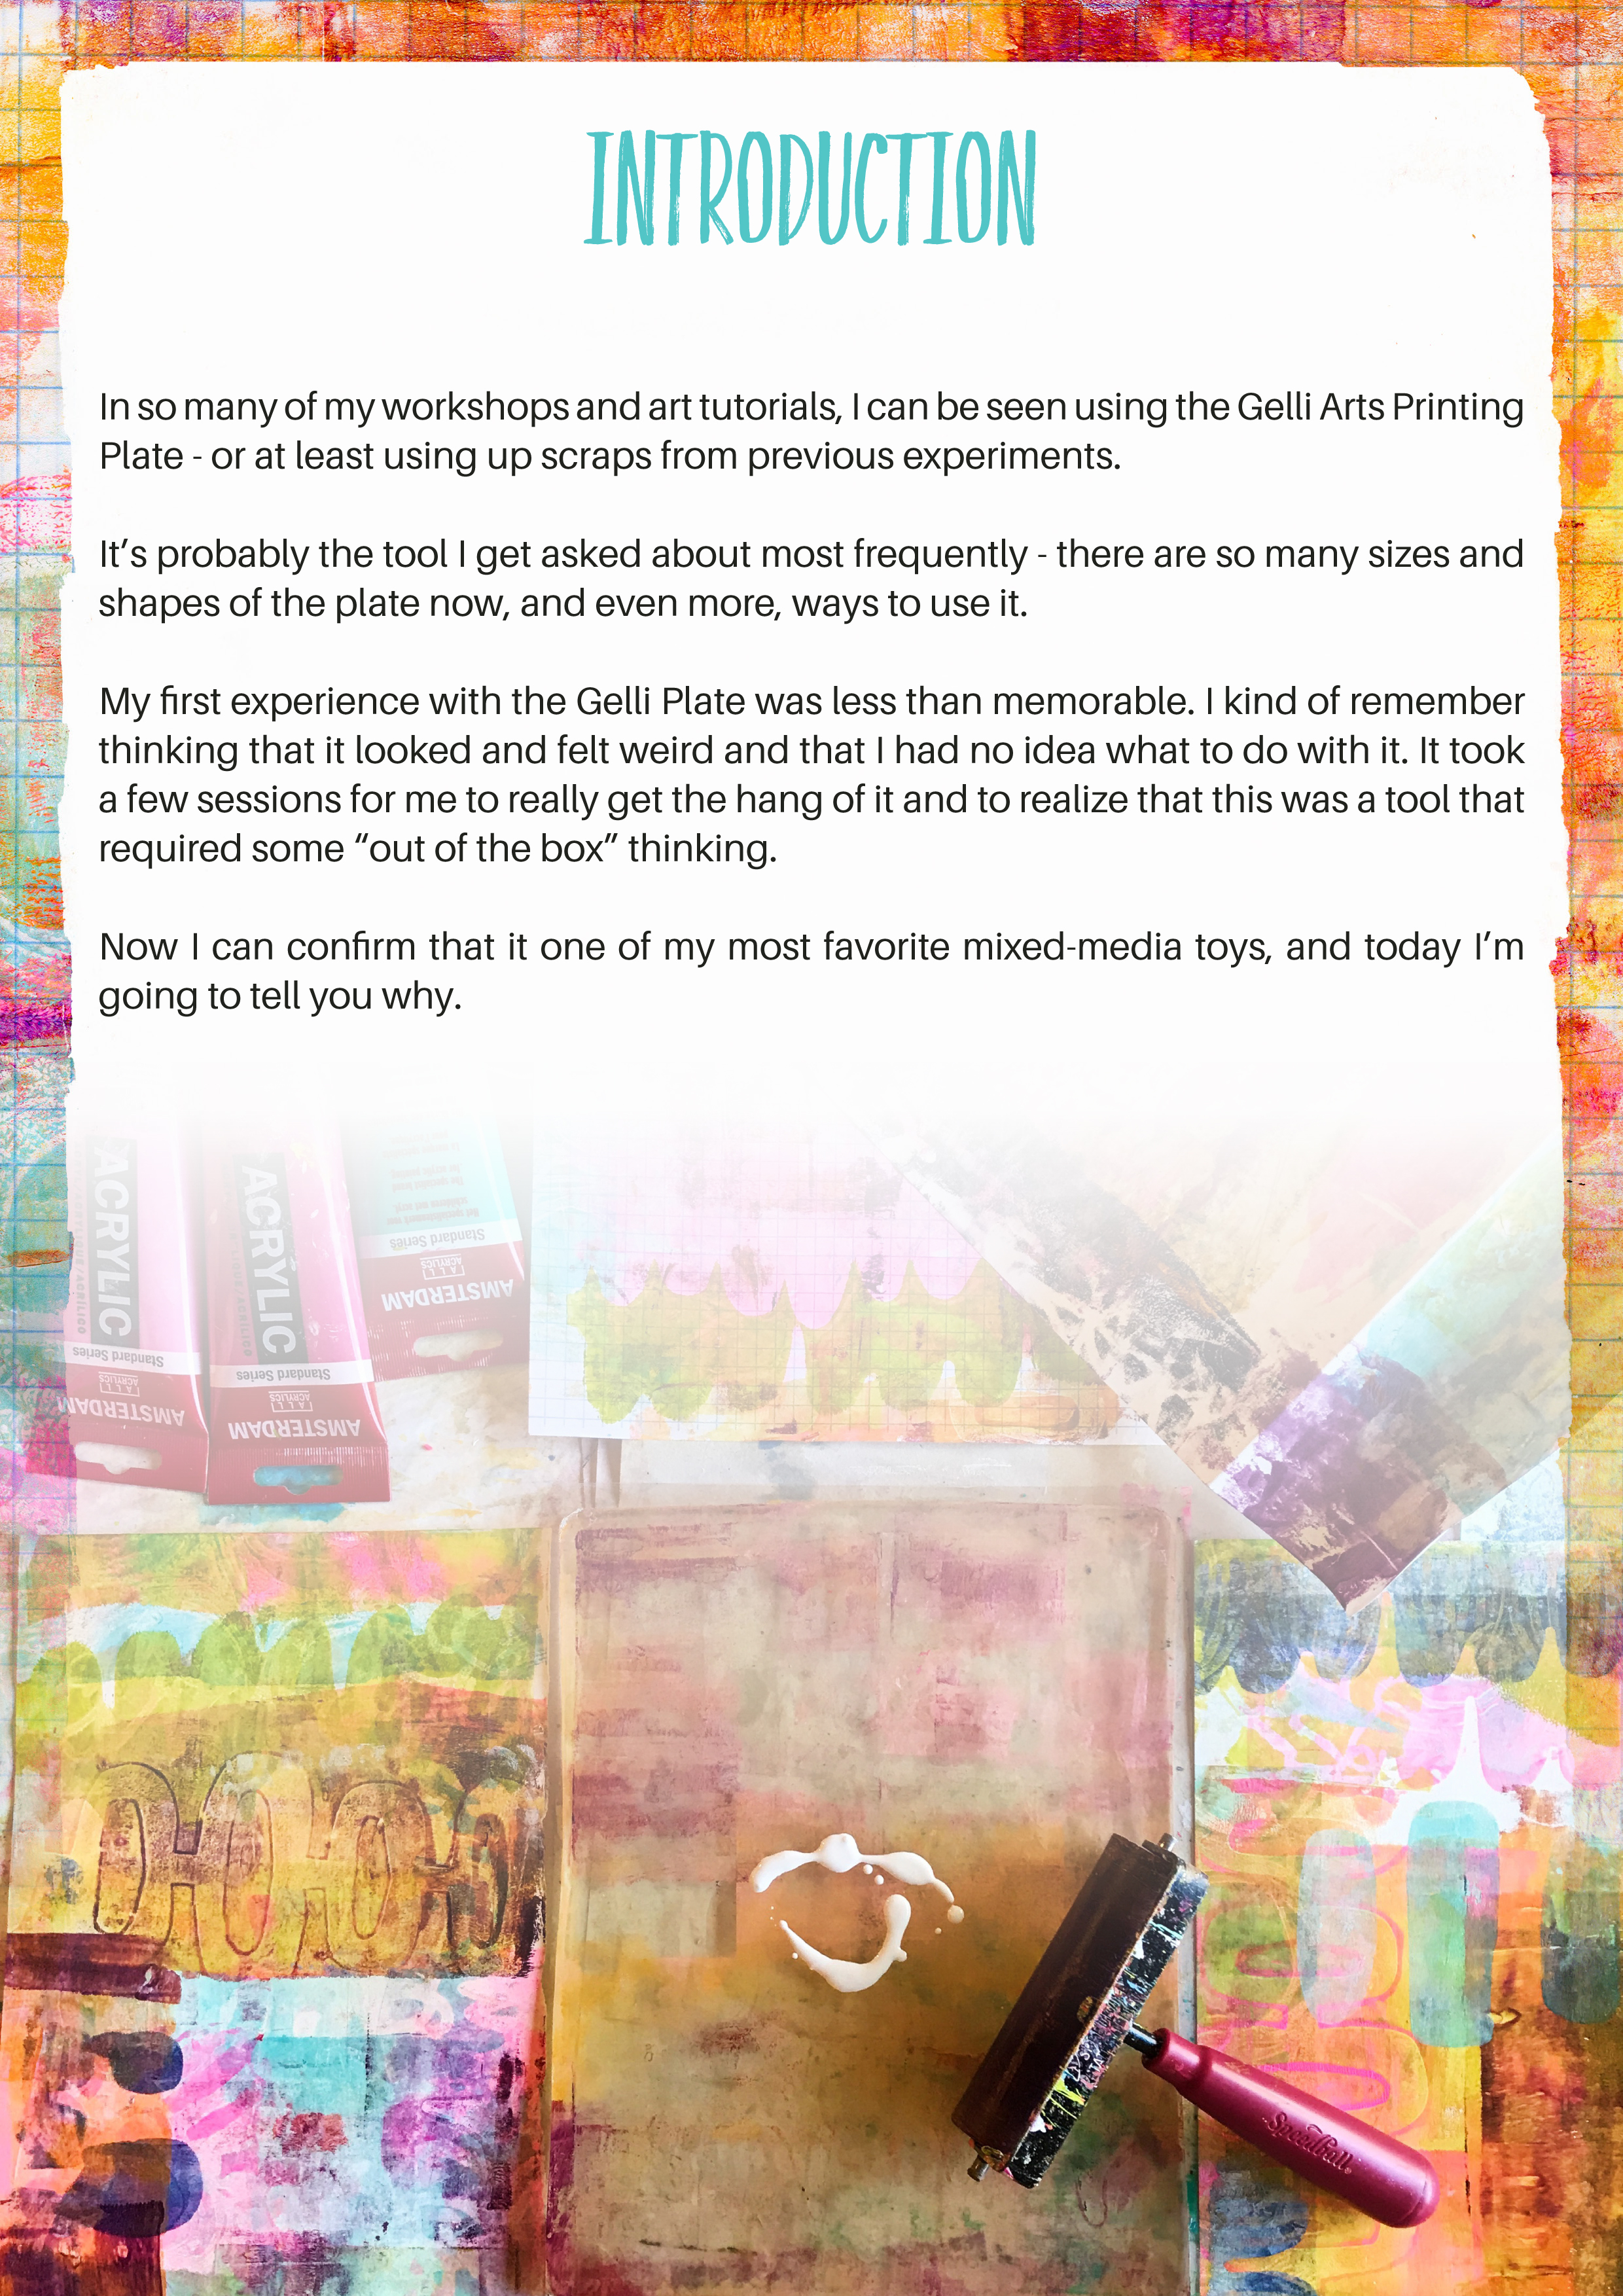
In so many of my workshops and art tutorials, I can be seen using the Gelli Arts® Printing Plate - or at least using up scraps from previous experiments.
It’s probably the tool I get asked about most frequently - there are so many sizes and shapes of the plate now, and even more, ways to use it.
My first experience with the Gelli® Plate was less than memorable. I kind of remember thinking that it looked and felt weird and that I had no idea what to do with it. It took a few sessions for me to really get the hang of it and to realize that this was a tool that required some “out of the box” thinking.
Now I can confirm that it one of my most favorite mixed-media toys, and today I’m going to tell you why.
The starting point
The Gelli® Plate is the perfect art tool when you are unsure about what to create, or you fancy a bit of mindless creative fun.
Sometimes, if I don’t have much time, or I’m not feeling inspired or motivated, I’ll pull out my Gelli® Plate and make a stack of backgrounds. There’s something very therapeutic about brayering paint around and just letting things happen.
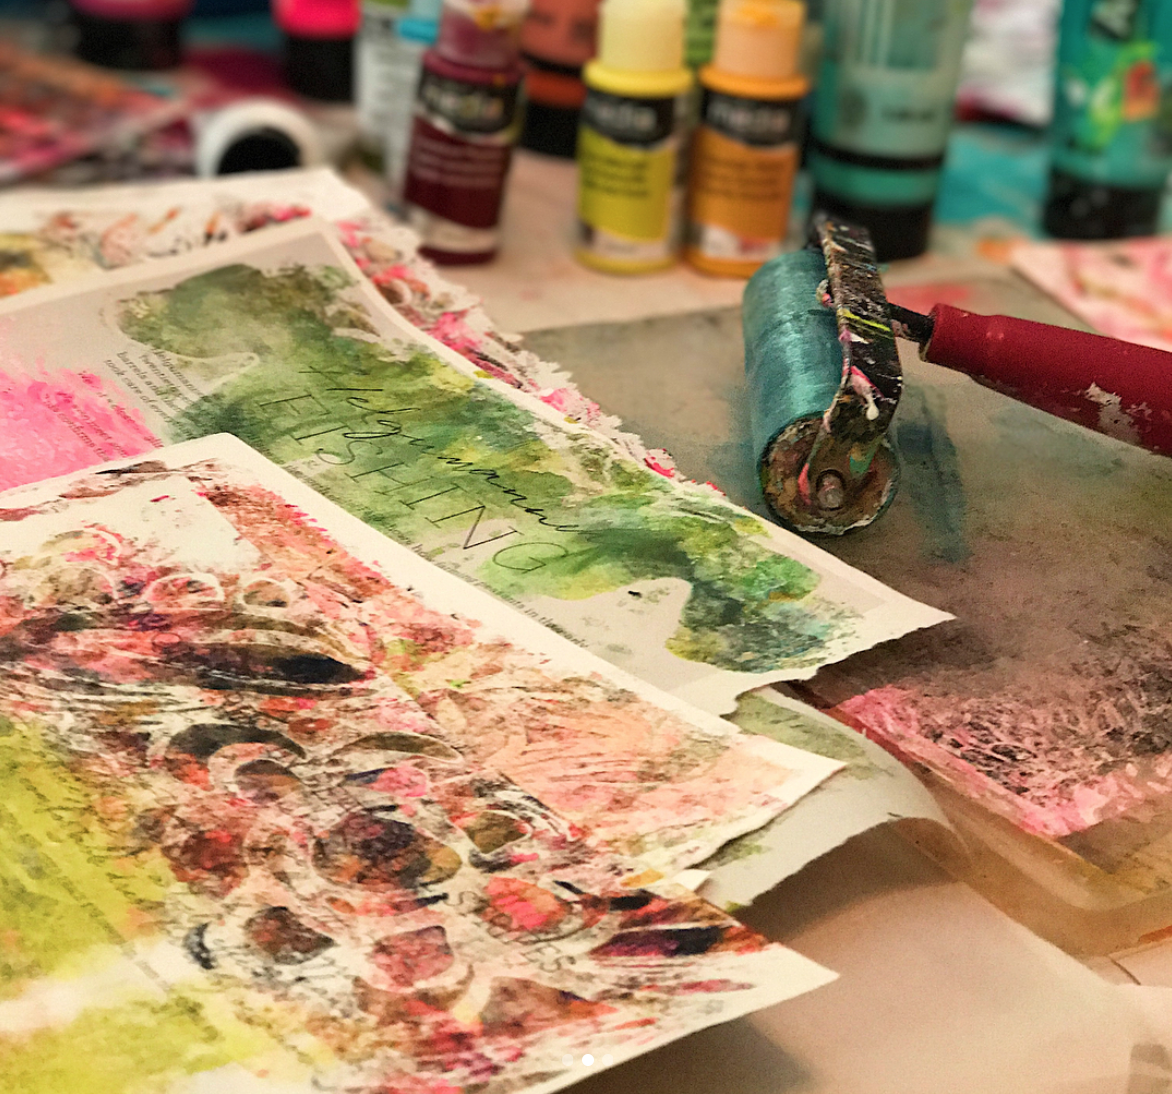
It’s the perfect place to experiment with pattern and paint, and you end up with endless awesome papers for future creative play. Occasionally I’ll get a print that is so "journal worthy" that I simply have to glue it in and layer it with other painty goodness.
Segmenting With the Gelli® Plate
A tutorial to help you let loose and play!
The supplies
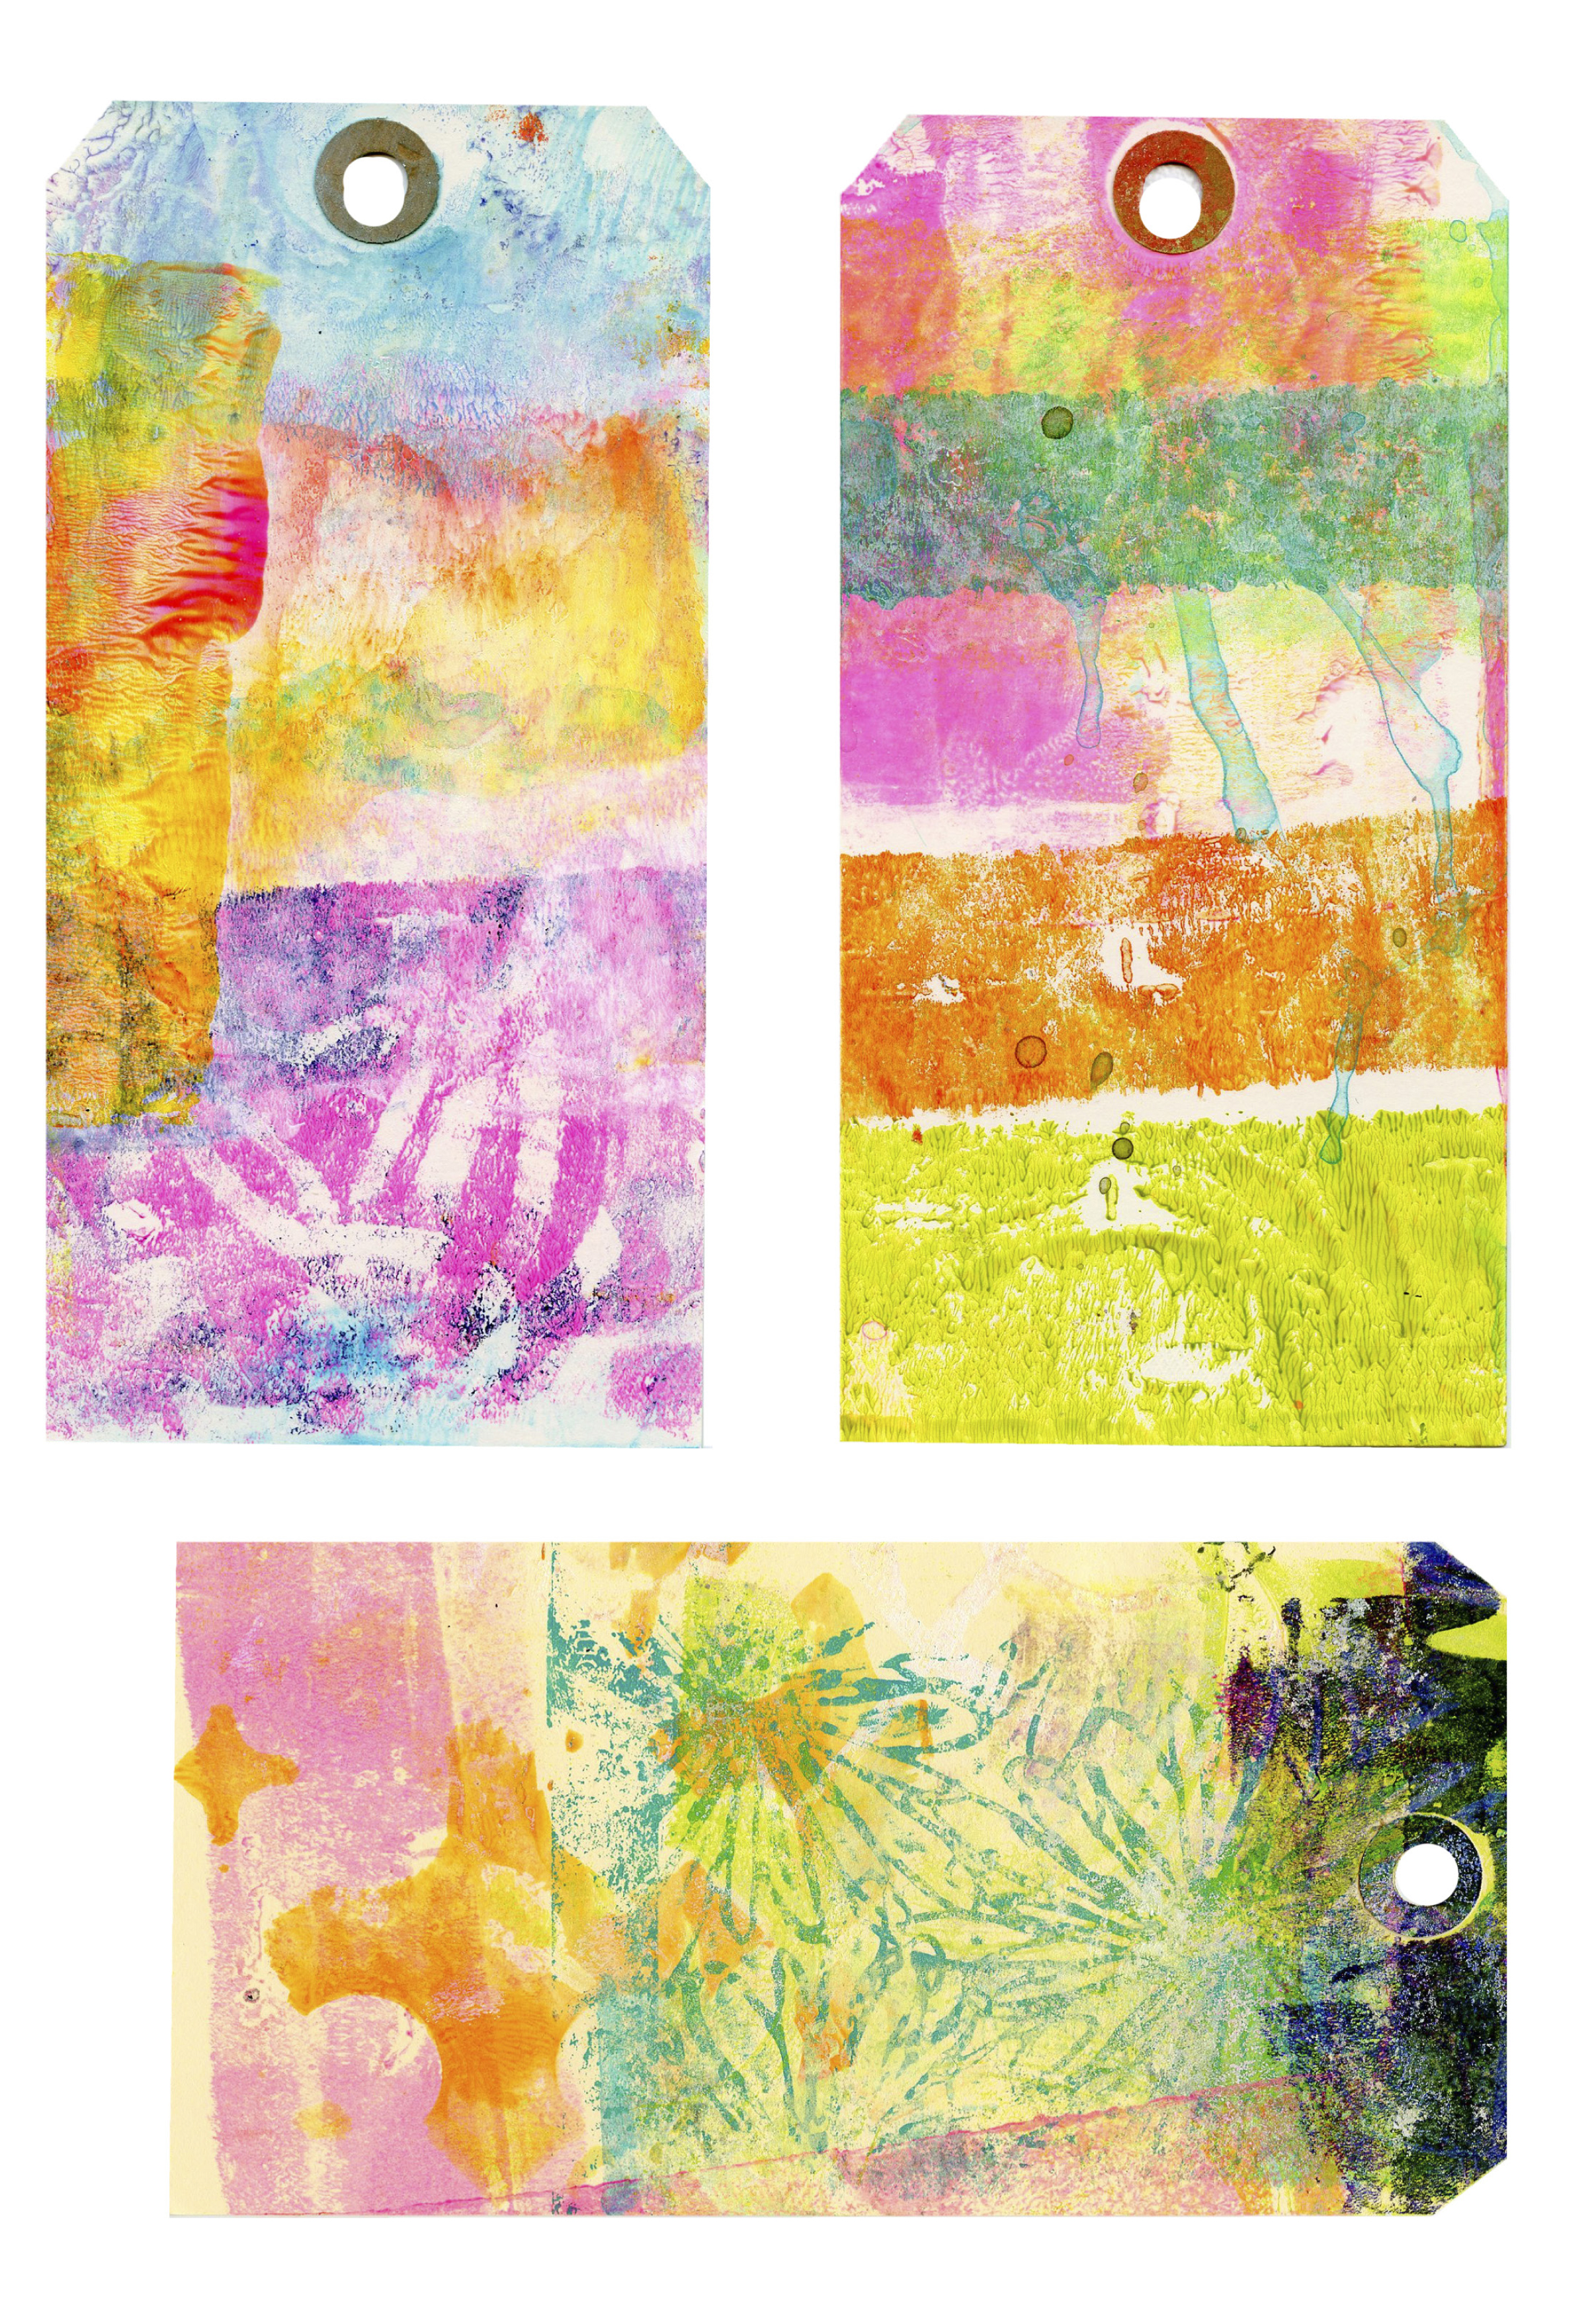
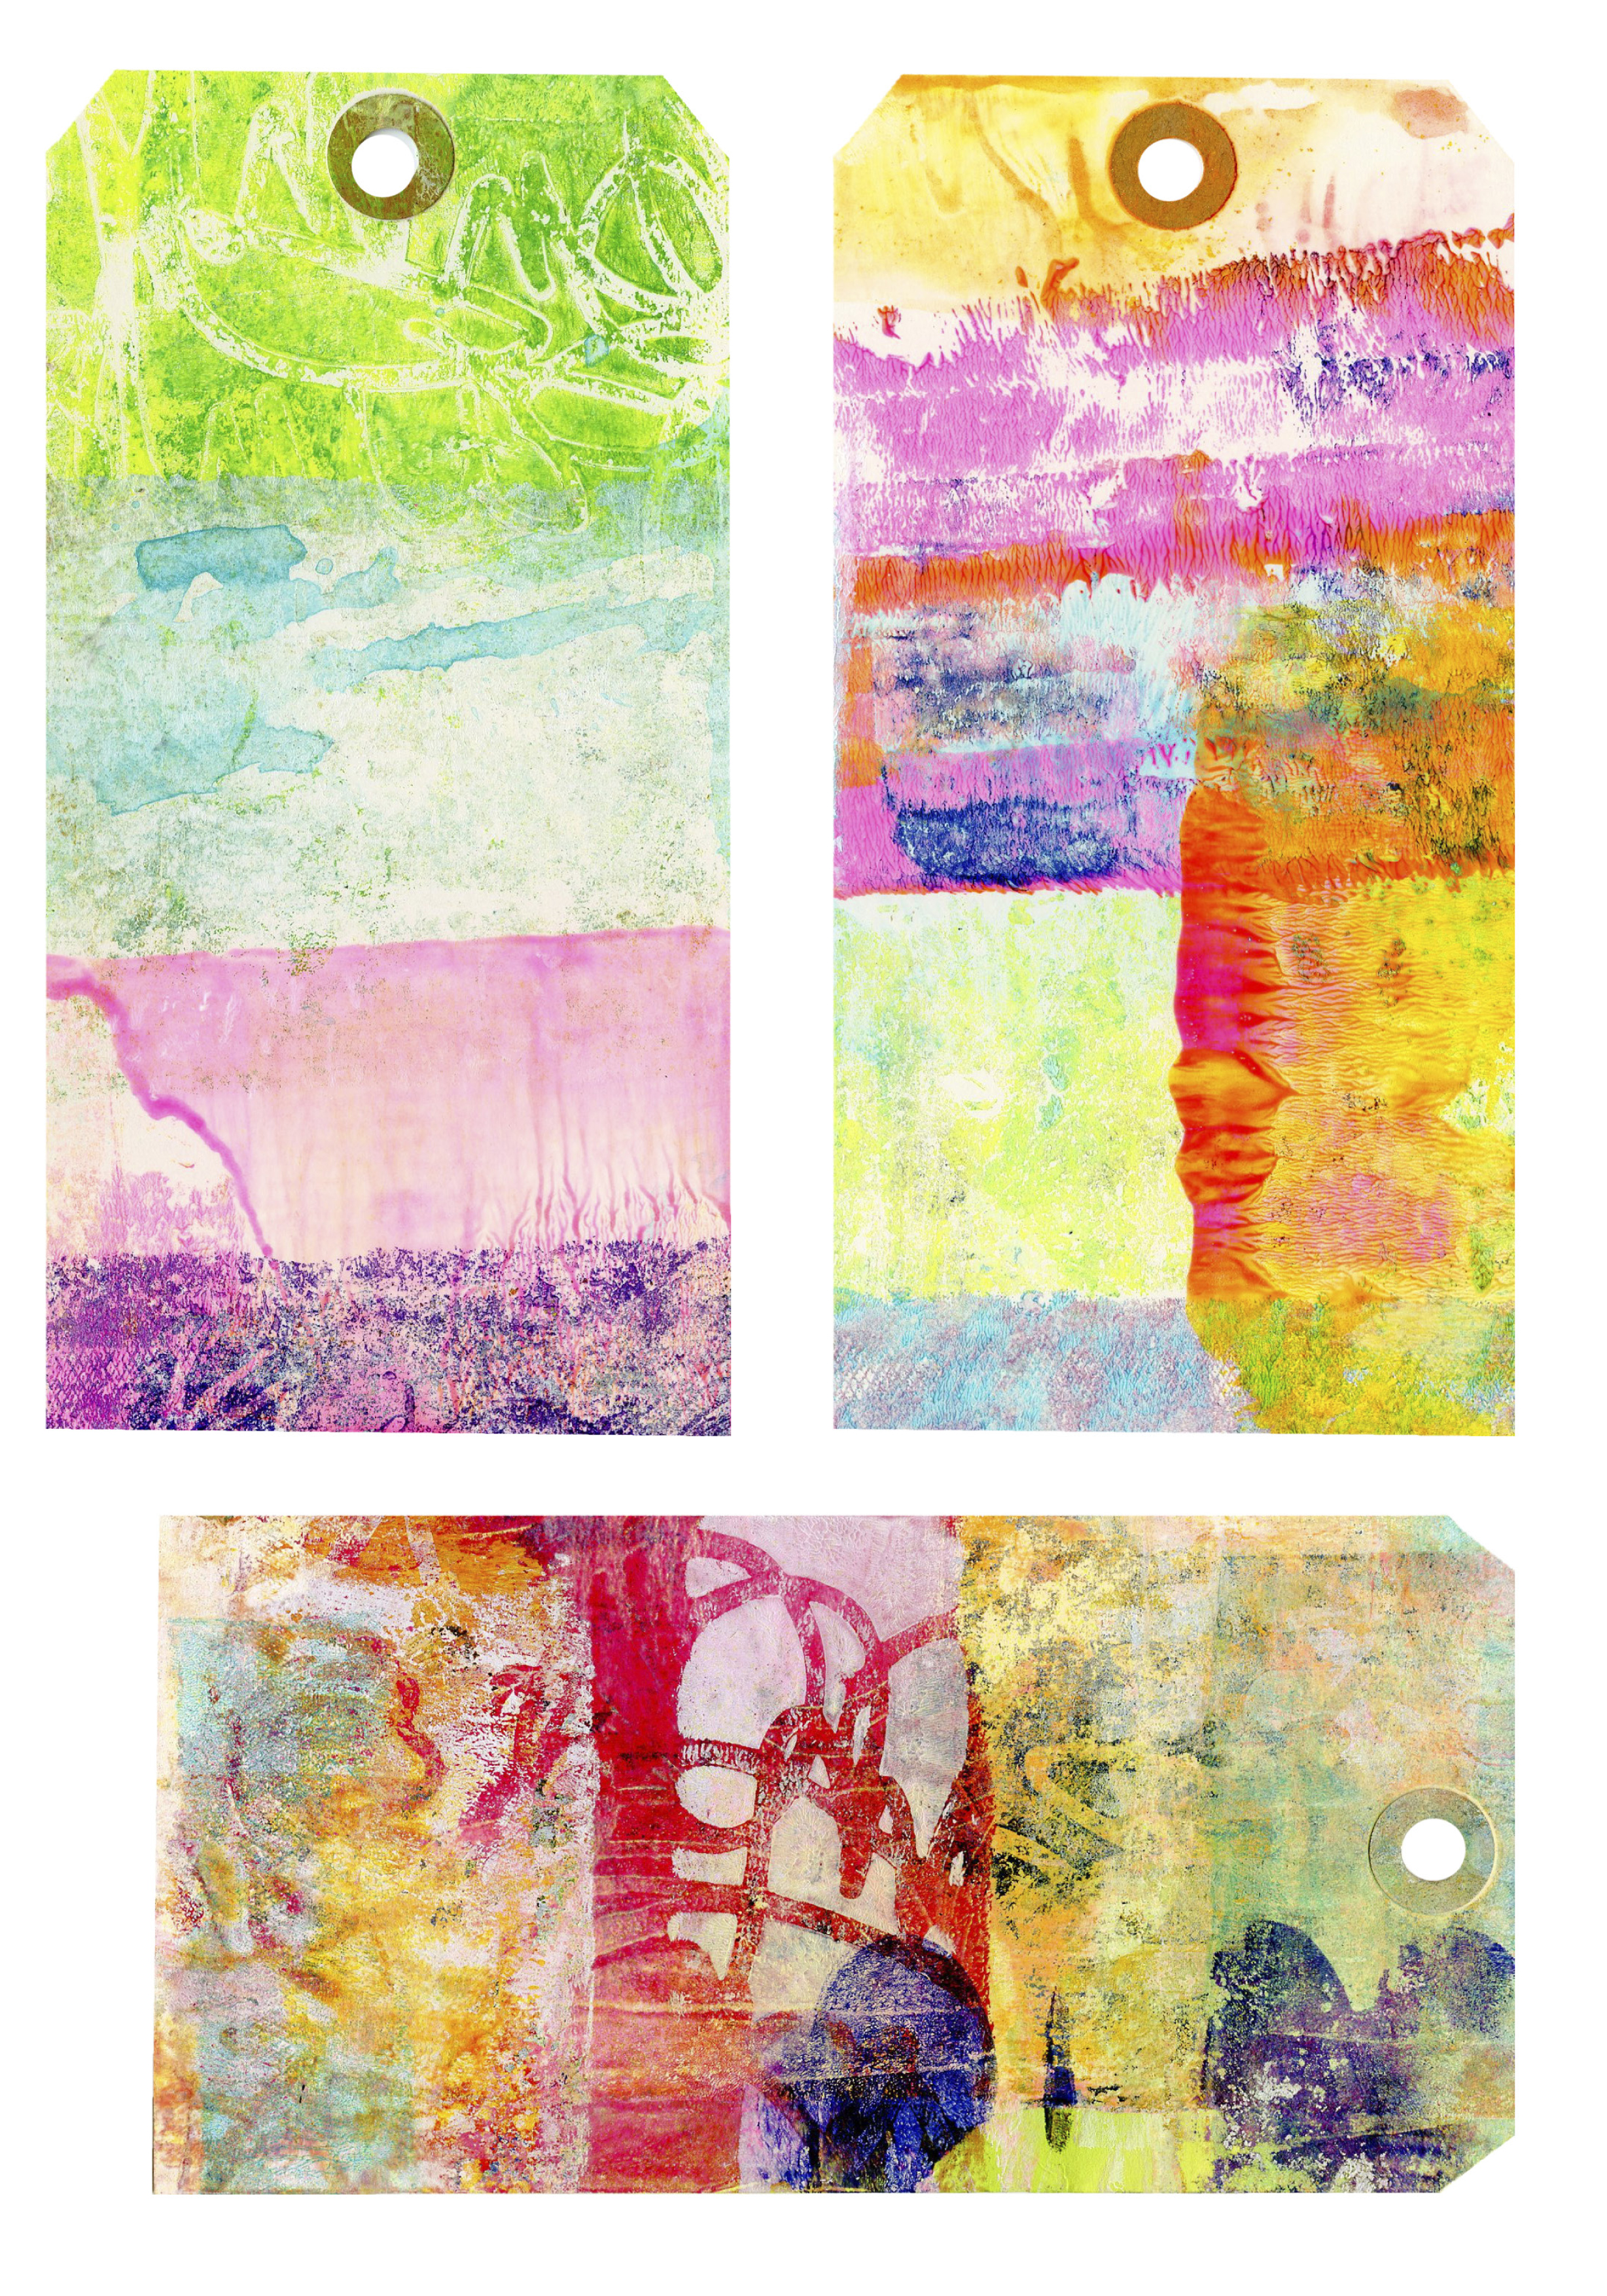
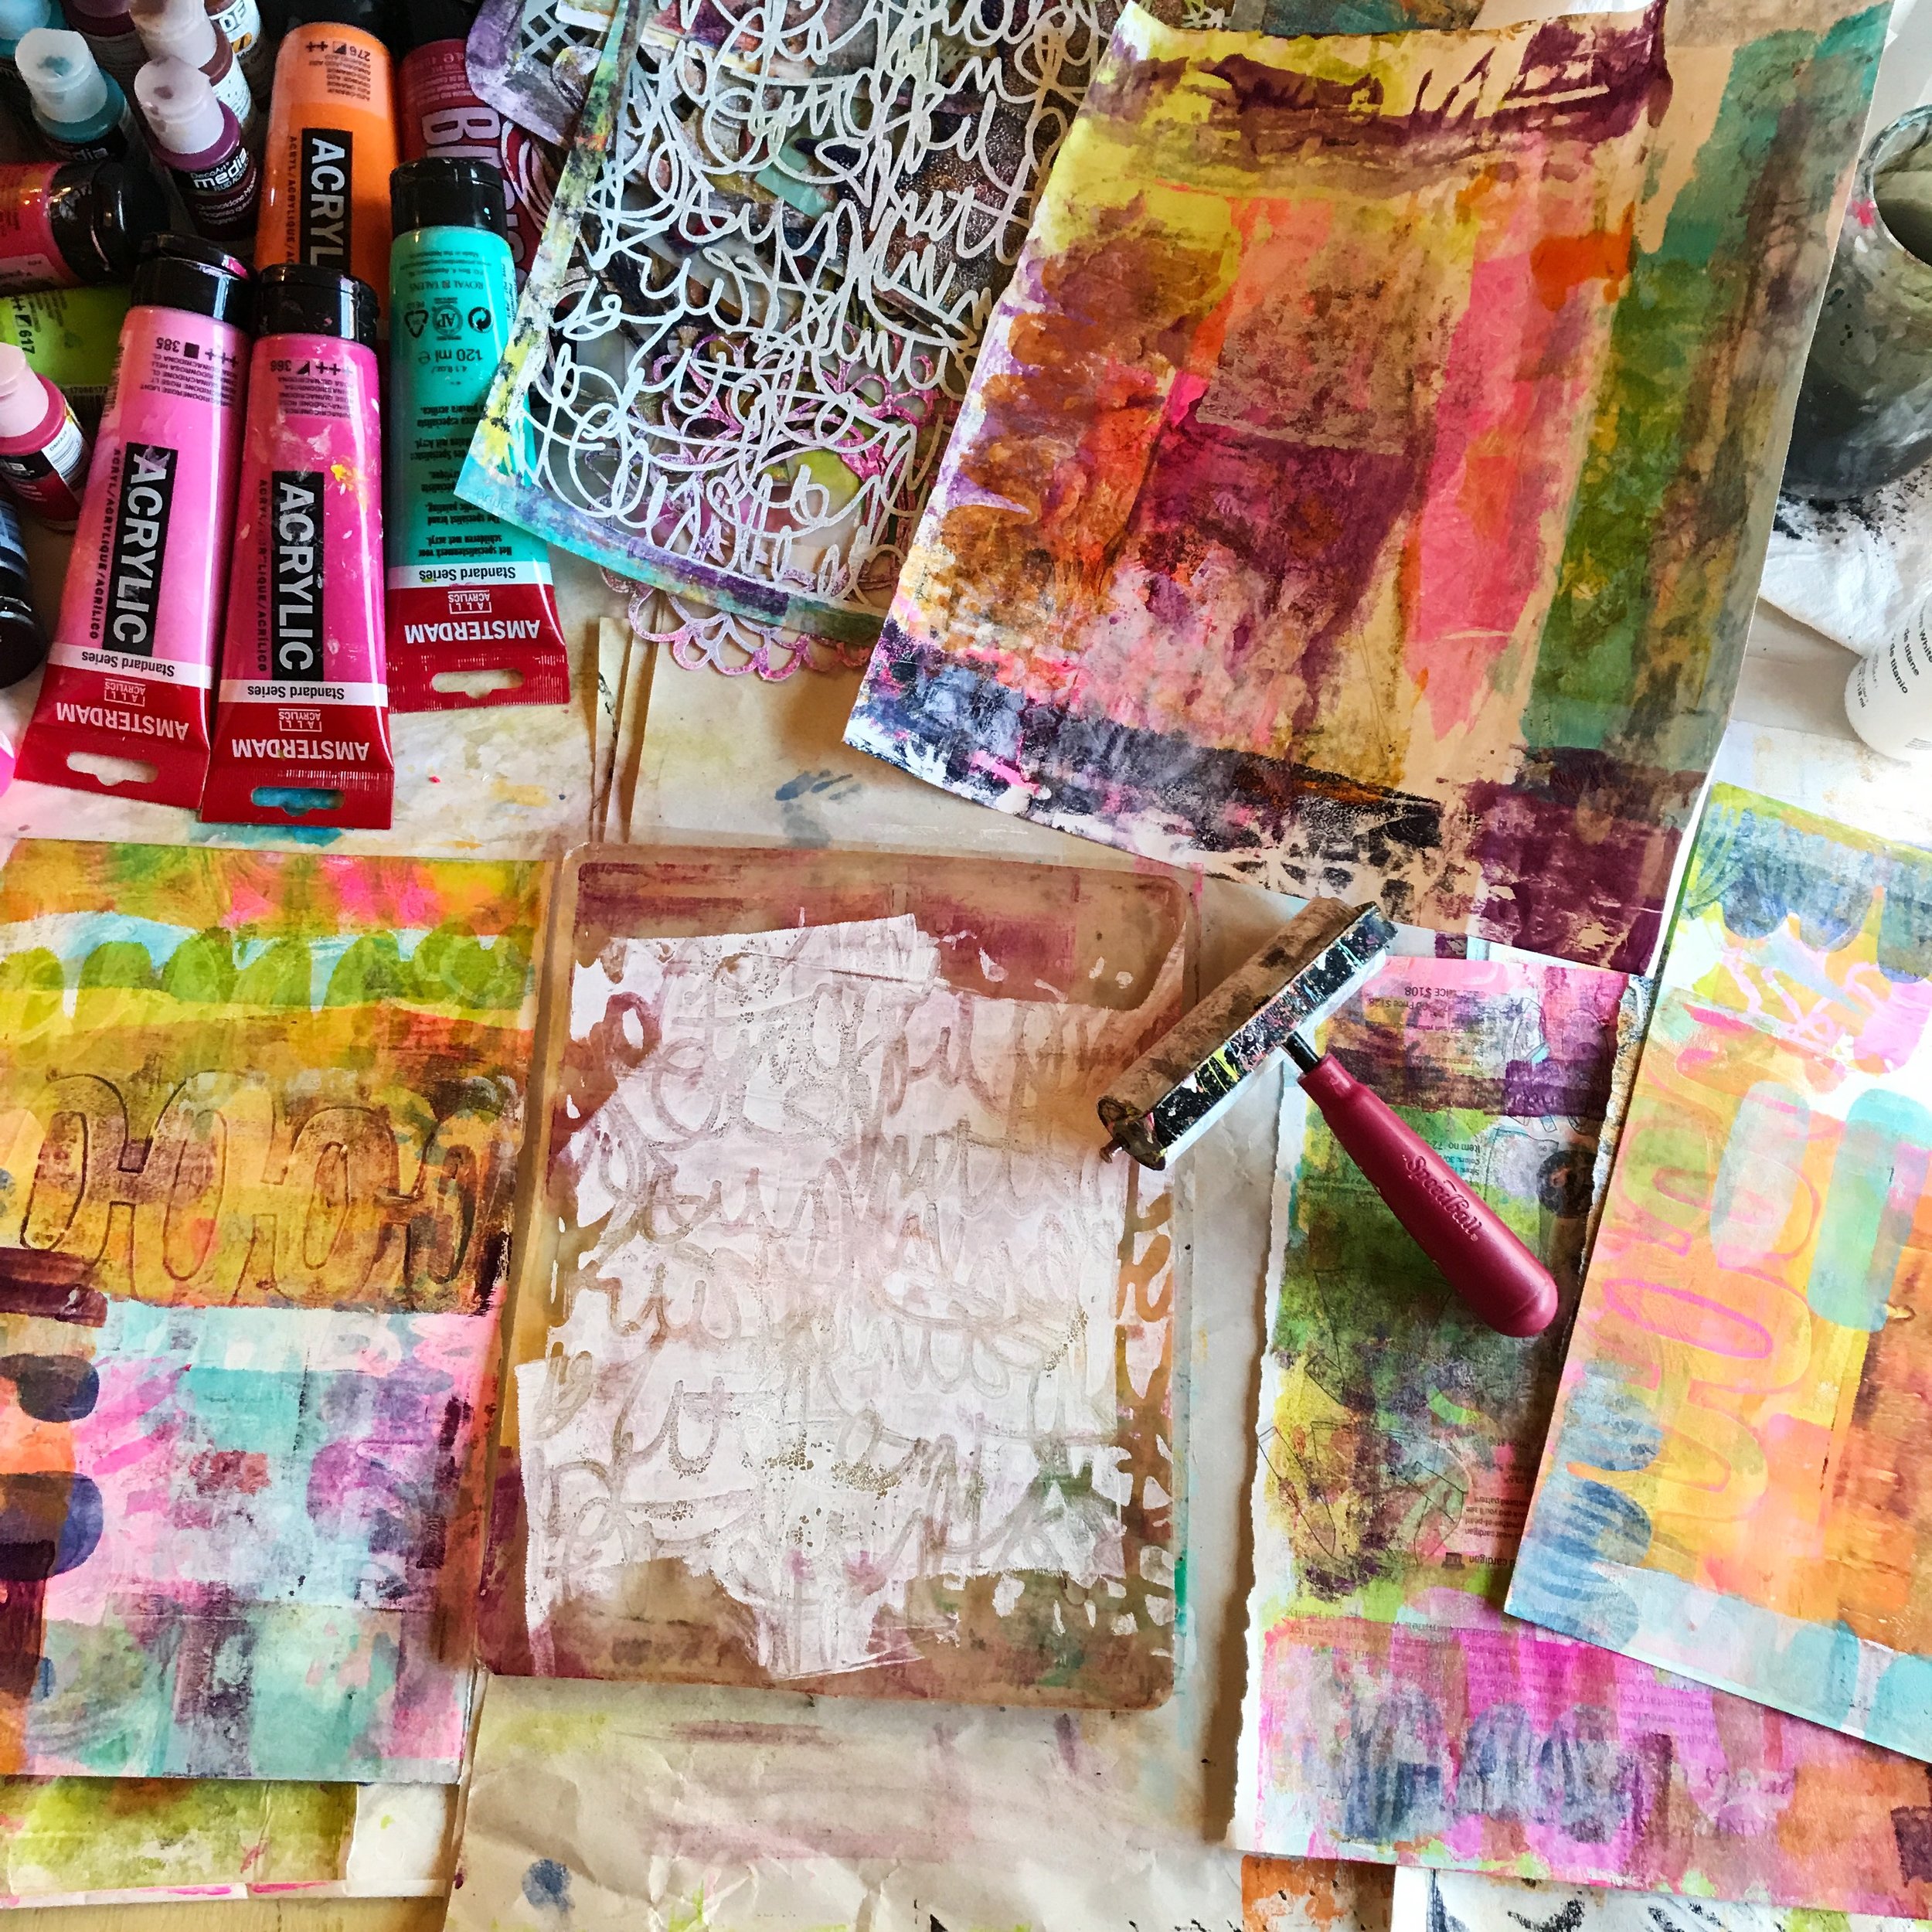
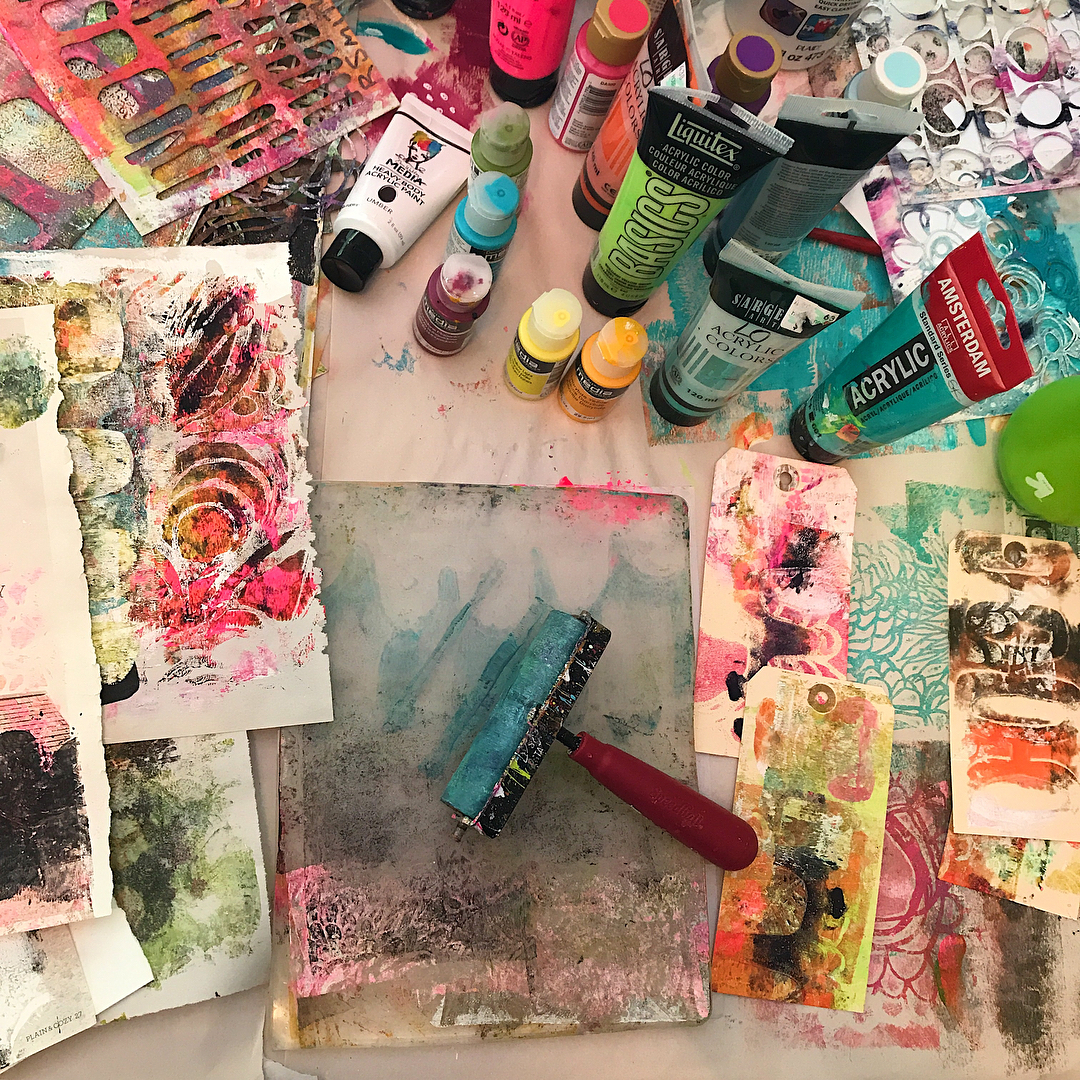
While I work with the Gelli® Plate, I like to keep a stack of various different paper types next to me. My favorites include newsprint, cardstock, newspaper, shipping tags, watercolor paper, Anthropologie catalogs, text paper from various books and other random papers I’ve collected in my studio.
From a paint perspective, I’ve found that cheaper acrylic paints work best. You want a fluid consistency that contains a little water - this allows for nice, smooth rolling with a brayer and stays wet for longer.
Gelli Arts® now has their own paints that are designed especially for use with the Gelli® Plate.
Paint that dries fast is a bit trickier to work with as you have to work faster. You can extend drying time by using a glazing medium, but I don’t use this often (unless I really feel the need to work with one of my favorite heavy body acrylics).
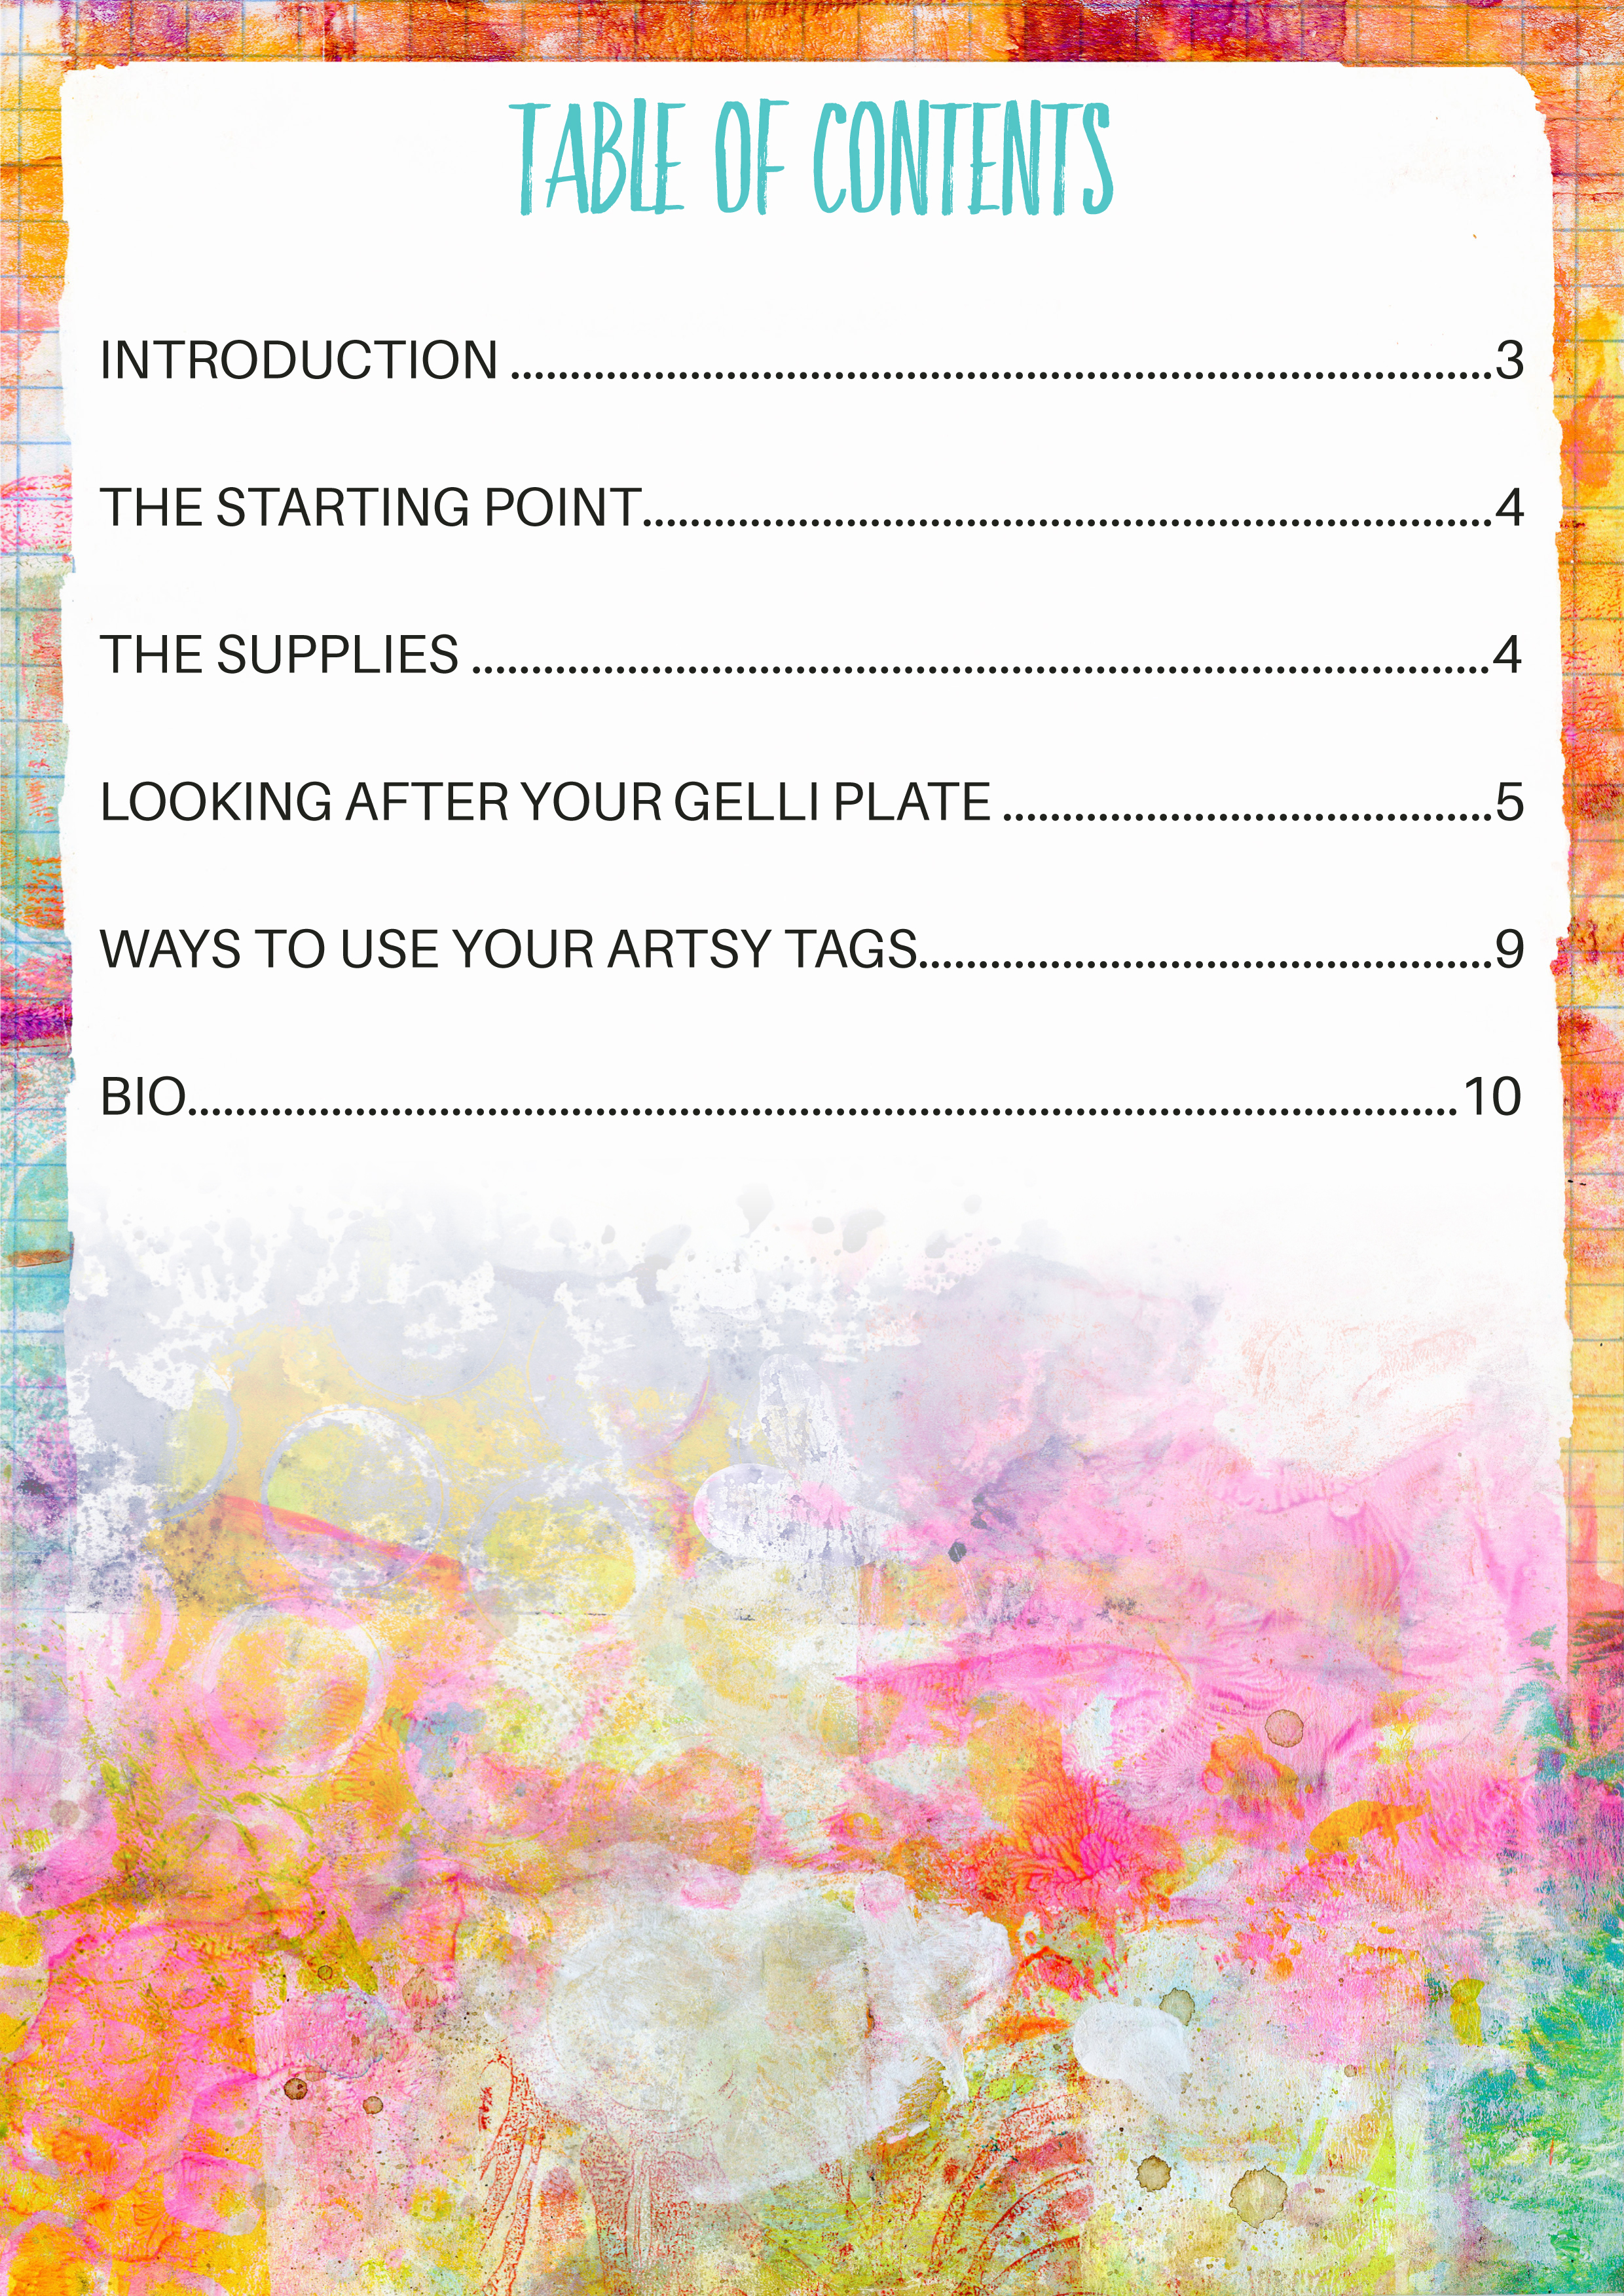
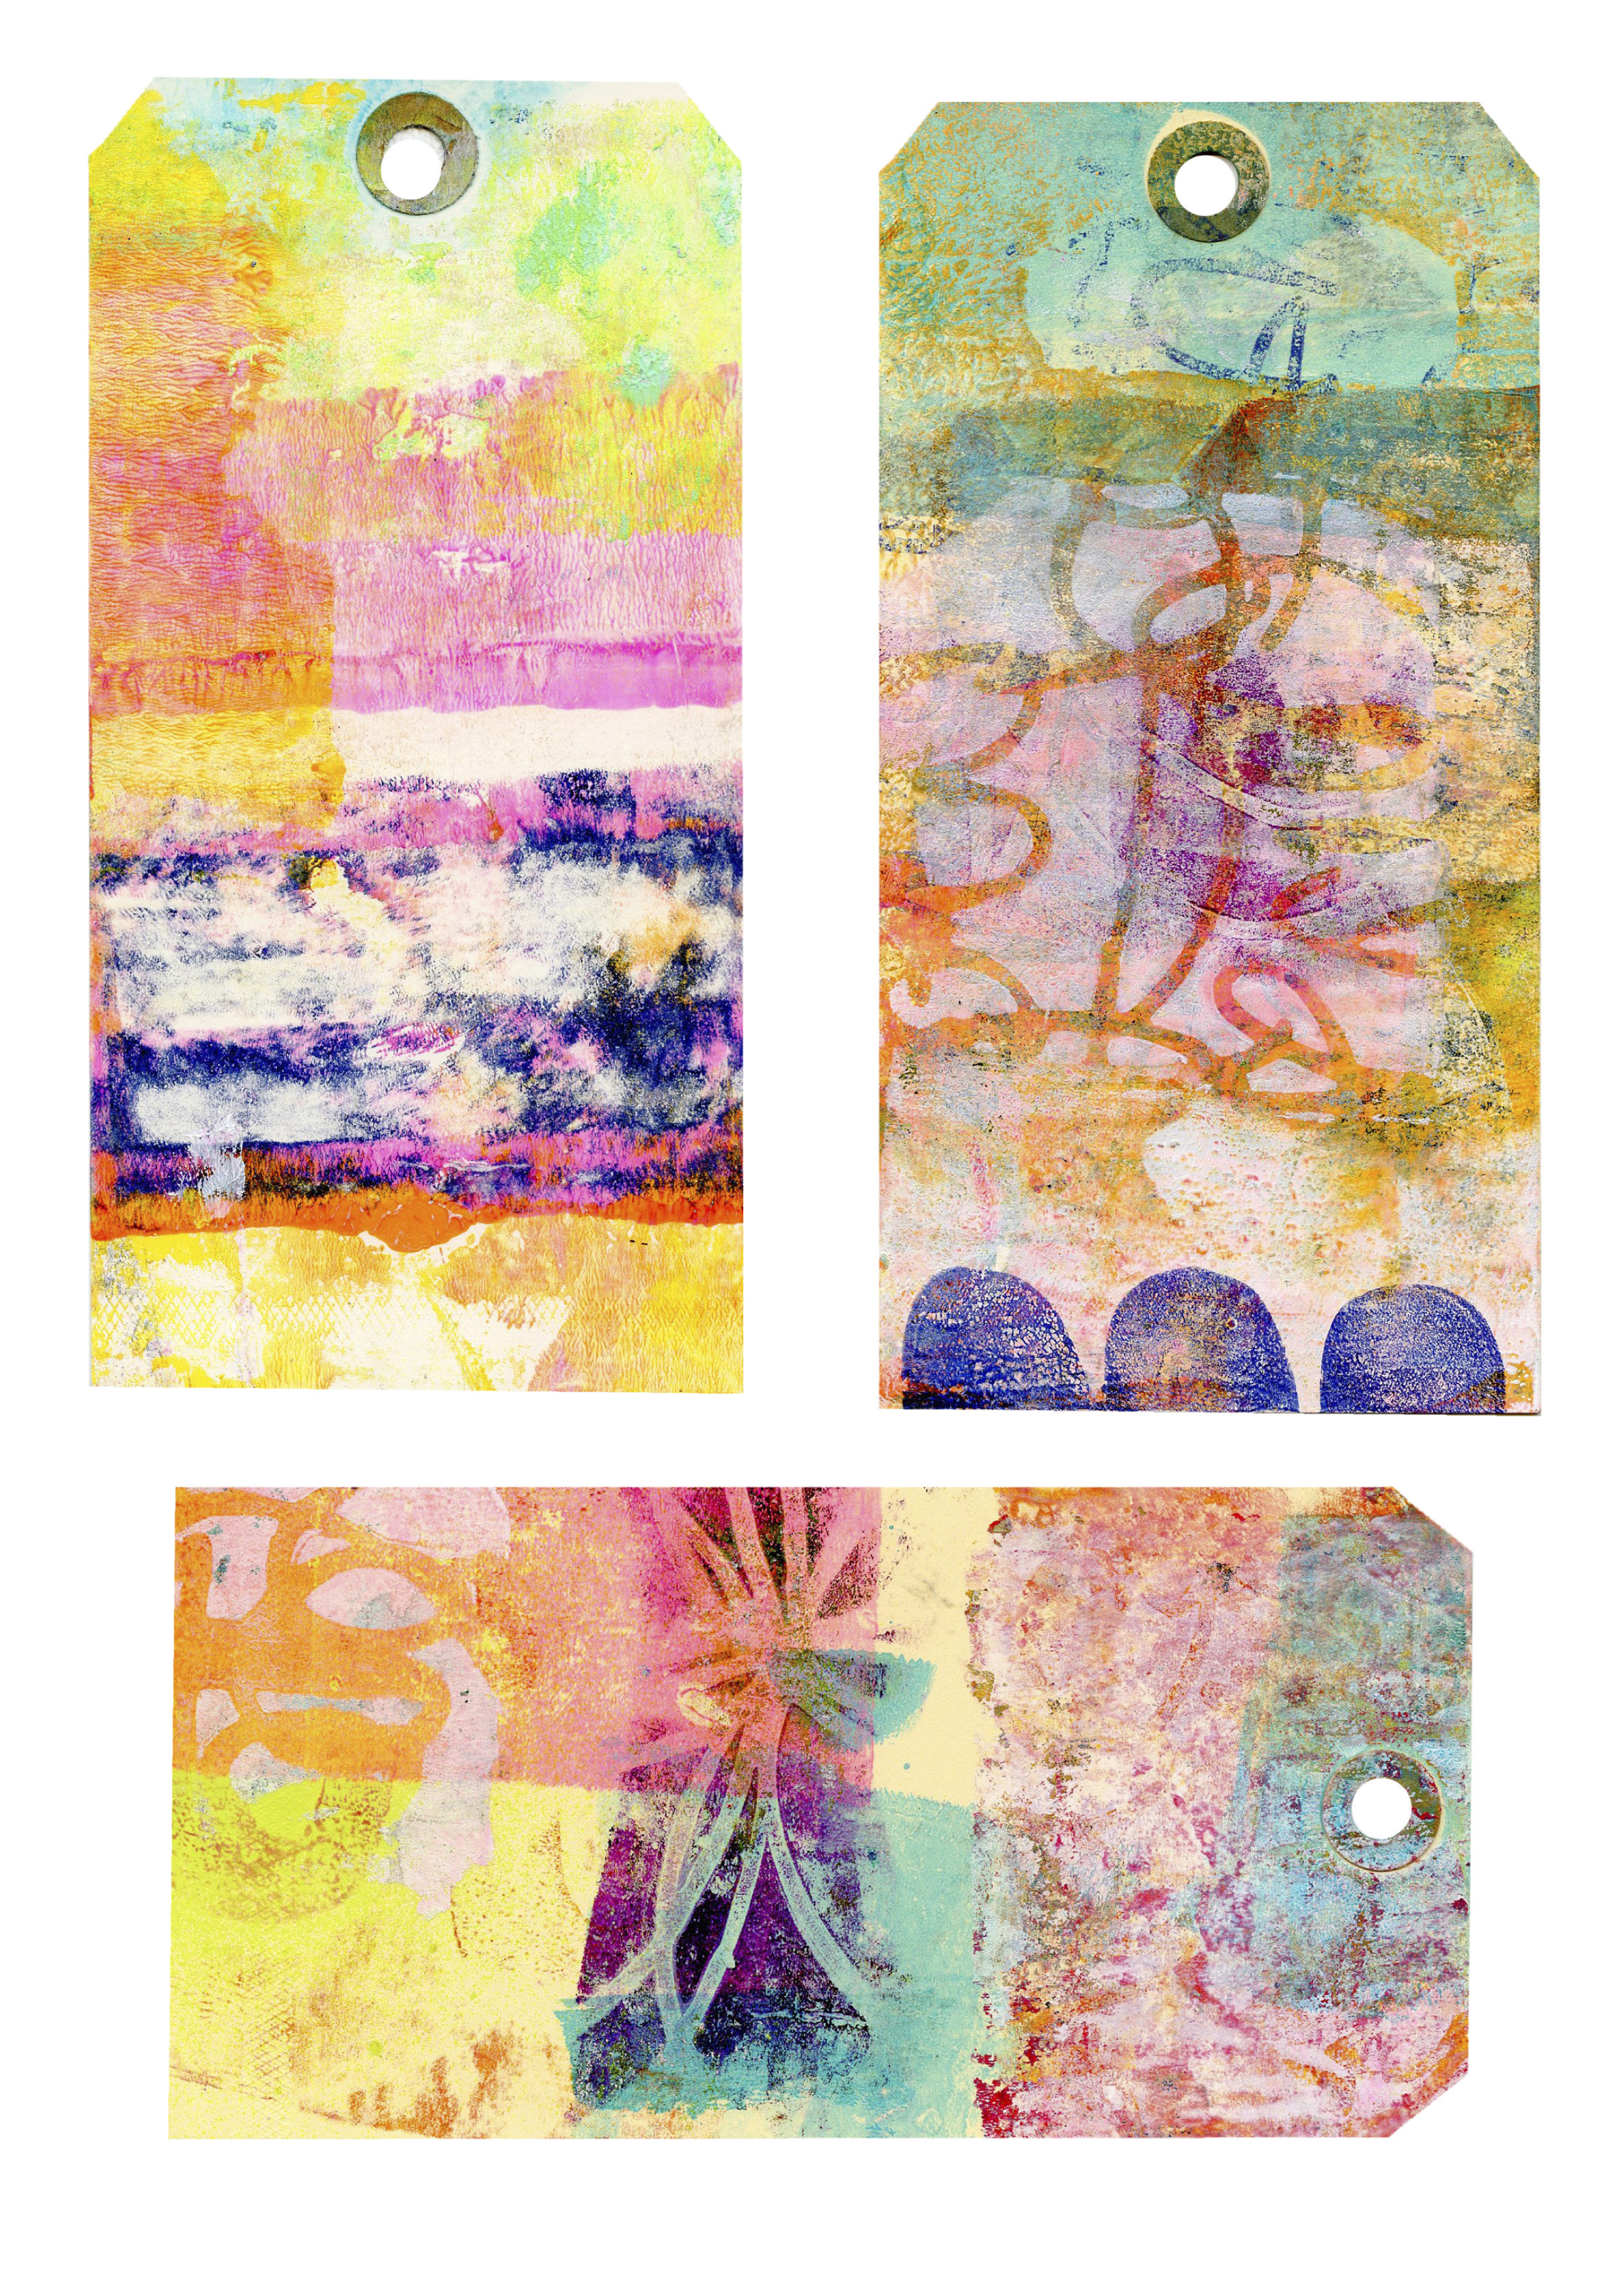
Grab Your Free Copy of this Post and...
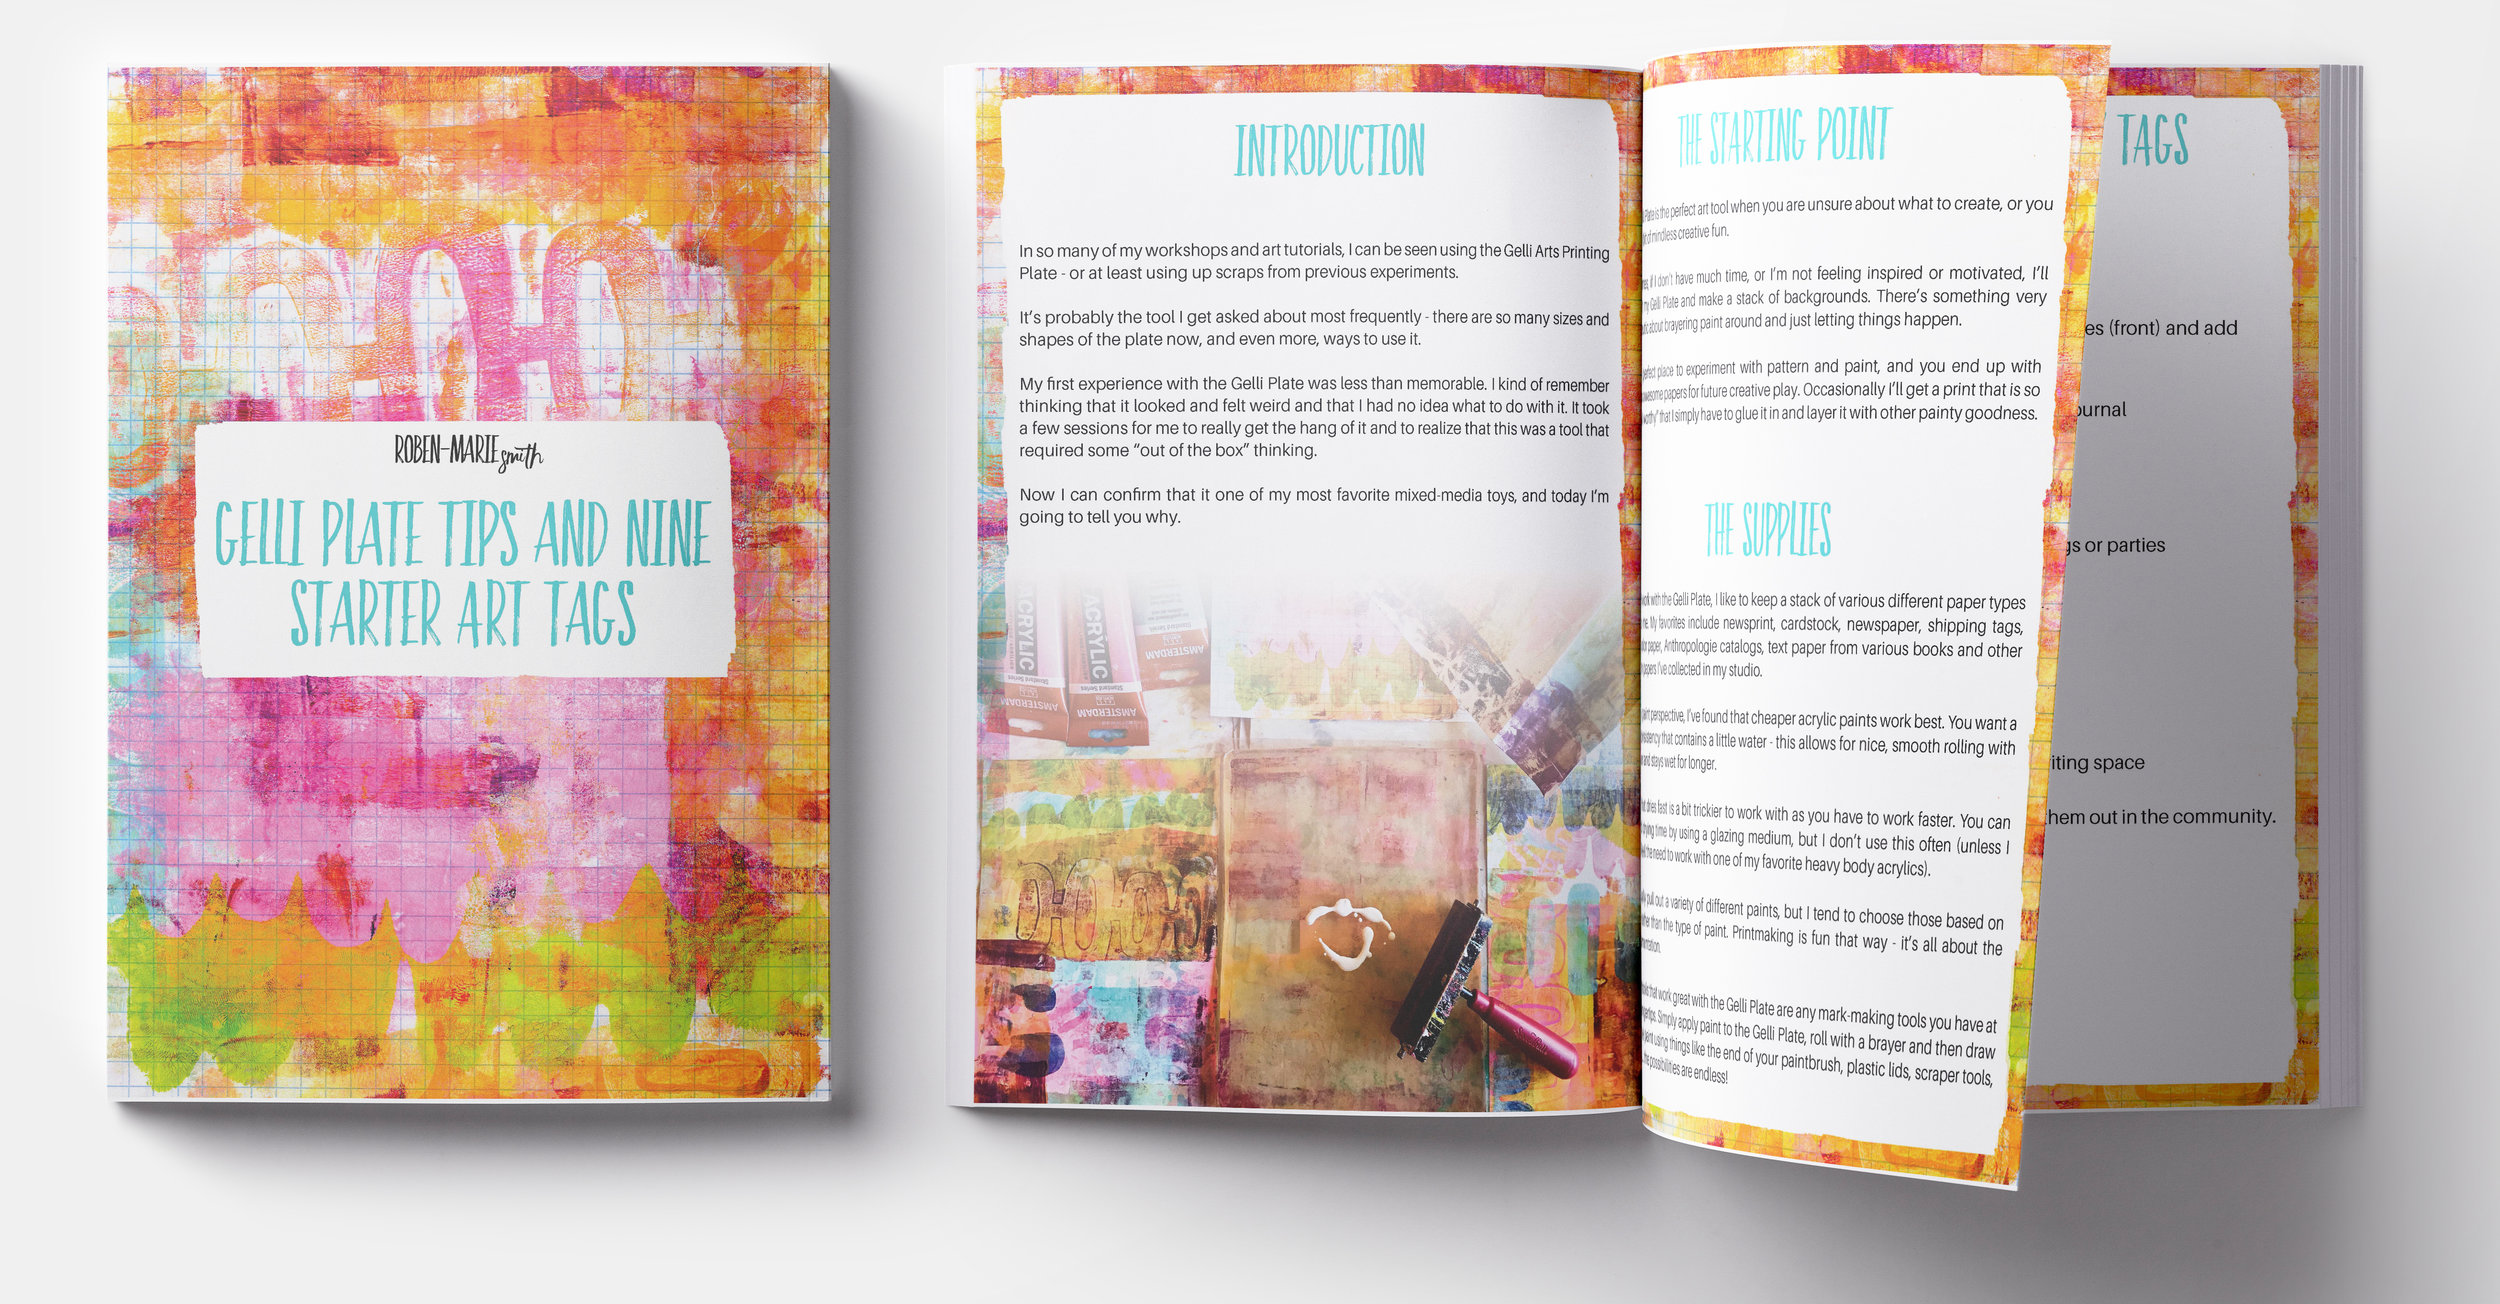
Nine Starter Art Tags
Looking after your gelli® plate
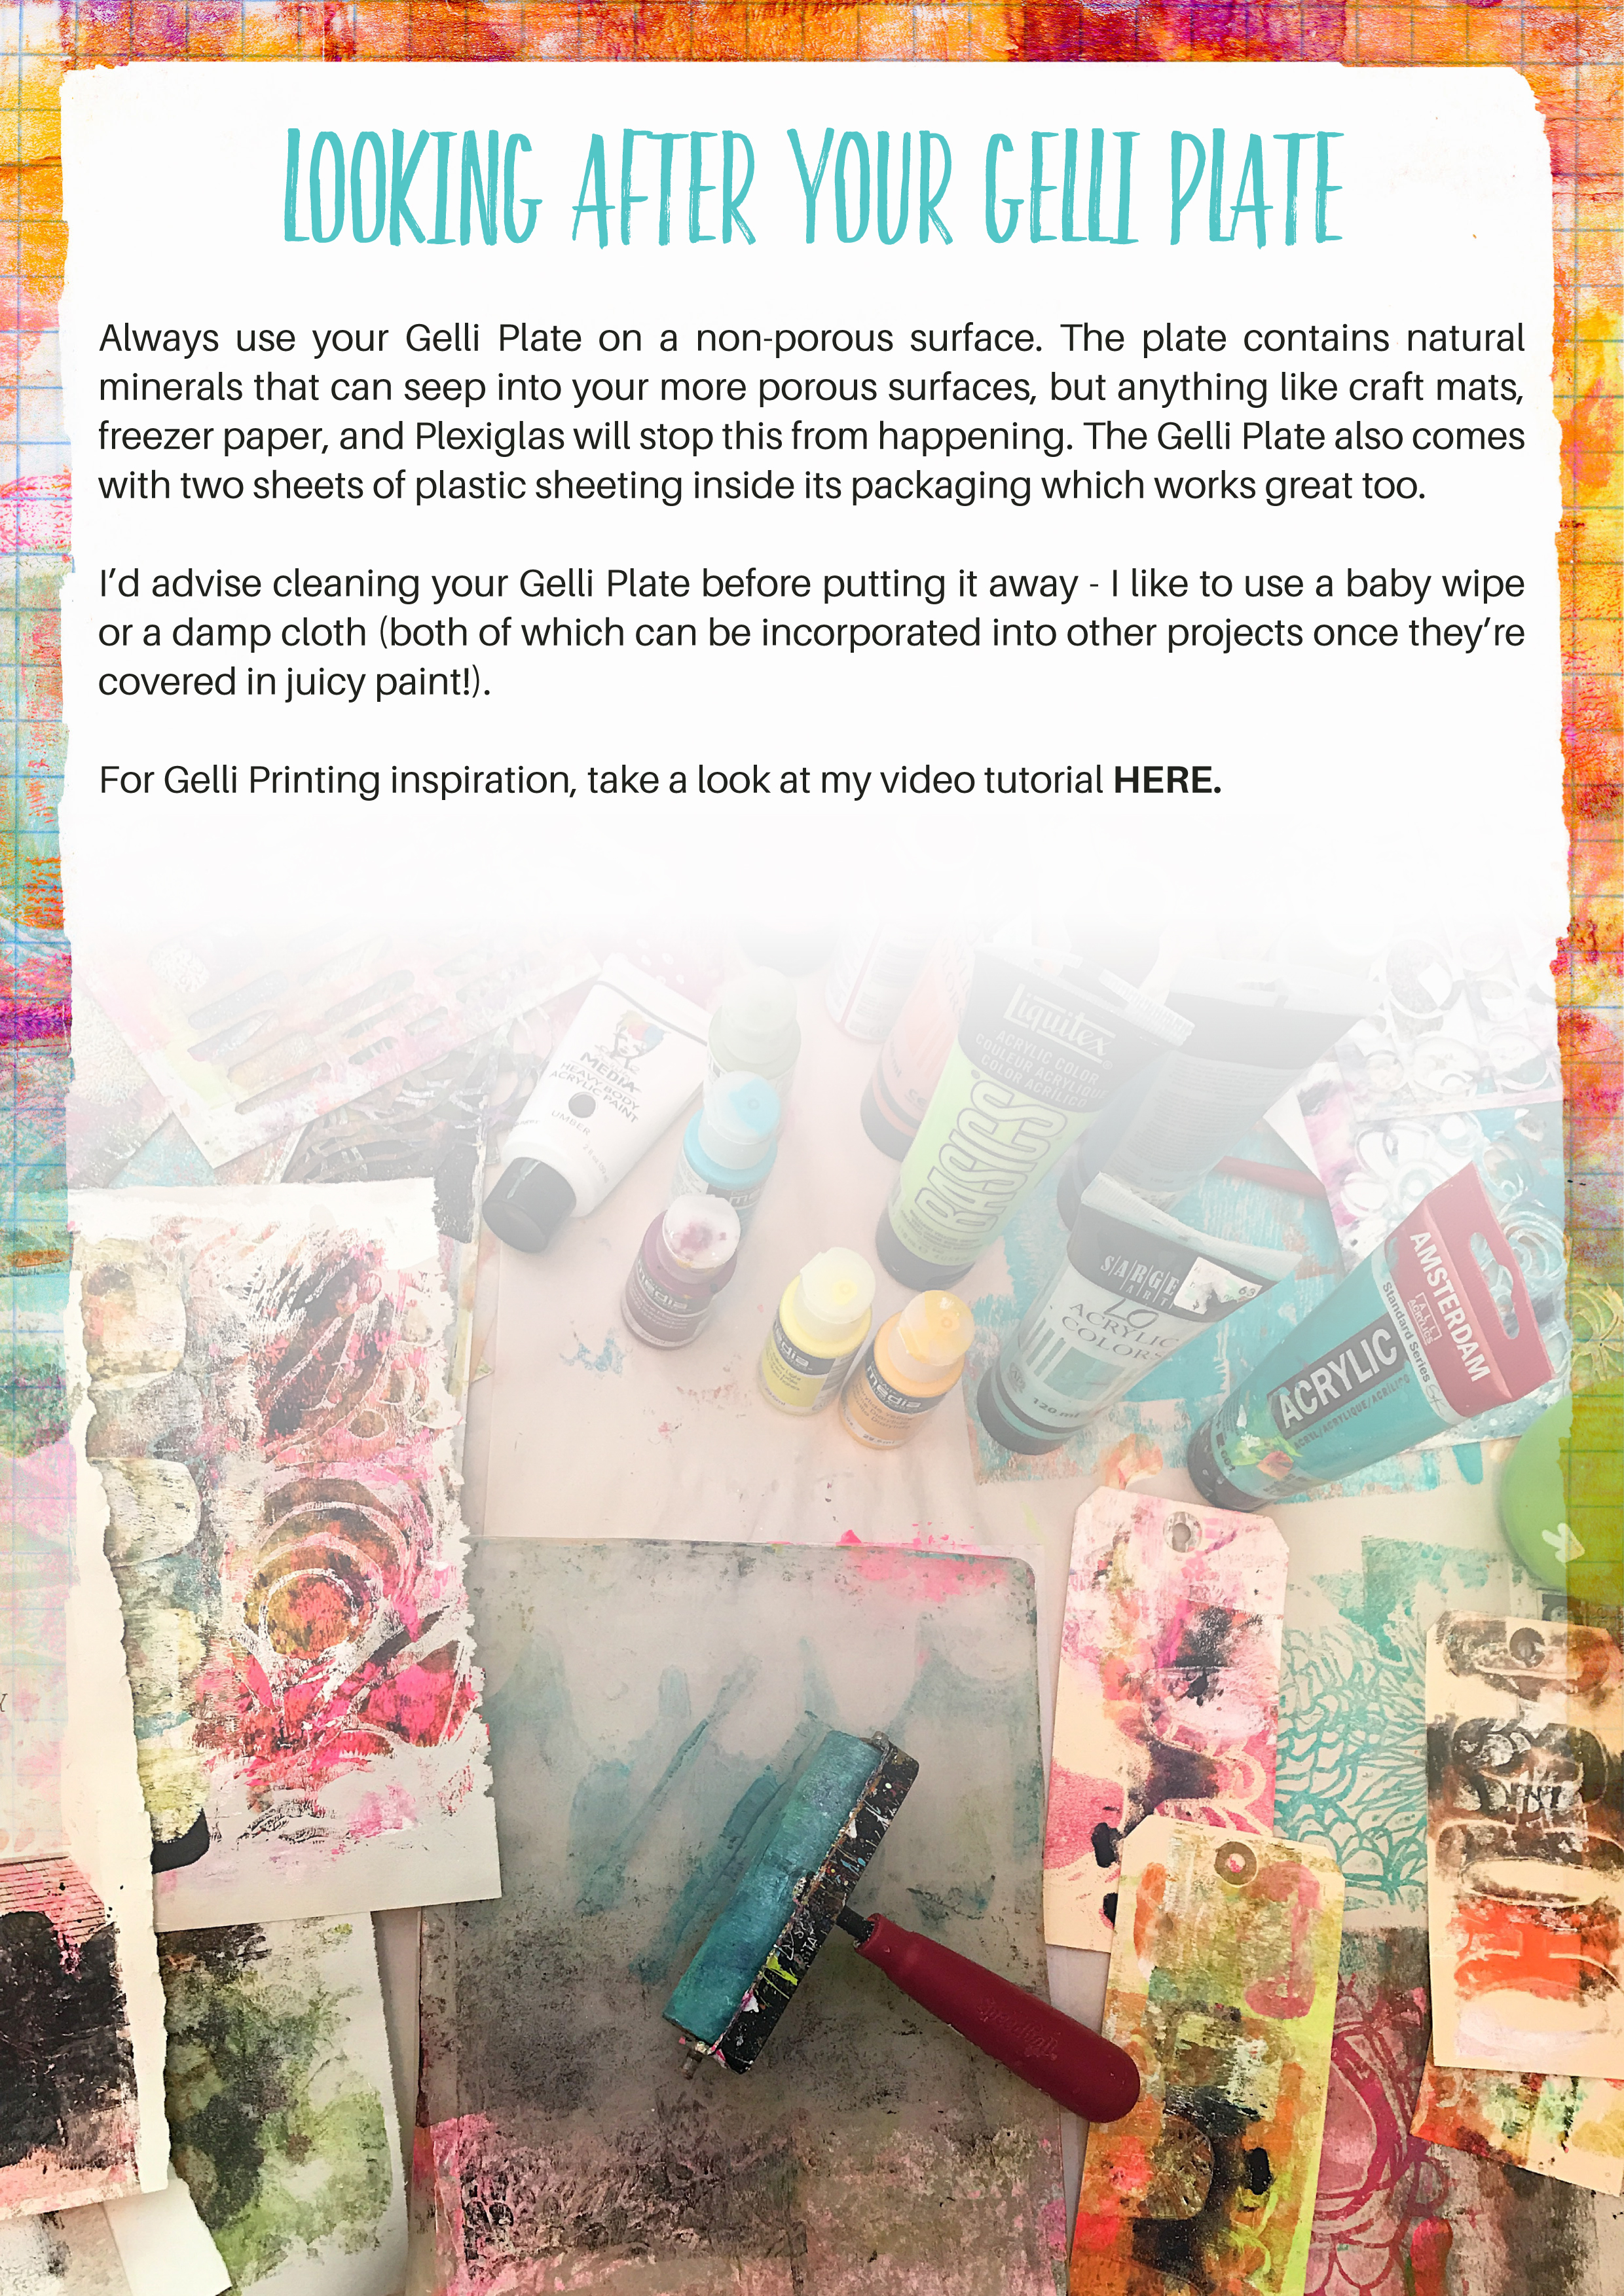
Always use your Gelli® Plate on a non-porous surface. The plate contains natural minerals that can seep into your more porous surfaces, but anything like craft mats, freezer paper, and Plexiglas will stop this from happening. The Gelli® Plate also comes with two sheets of plastic sheeting inside its packaging which works great too.
I’d advise cleaning your Gelli® Plate before putting it away - I like to use a baby wipe or a damp cloth (both of which can be incorporated into other projects once they’re covered in juicy paint!).
Printmaker Pro: Press, Stitch & Stash!
One of my Signature Workshops Using the Gelli® Plate
Want more Gelli® Printing inspiration? I have an "oldie but a goodie" HERE!
Have a blessed day!
Roben-Marie

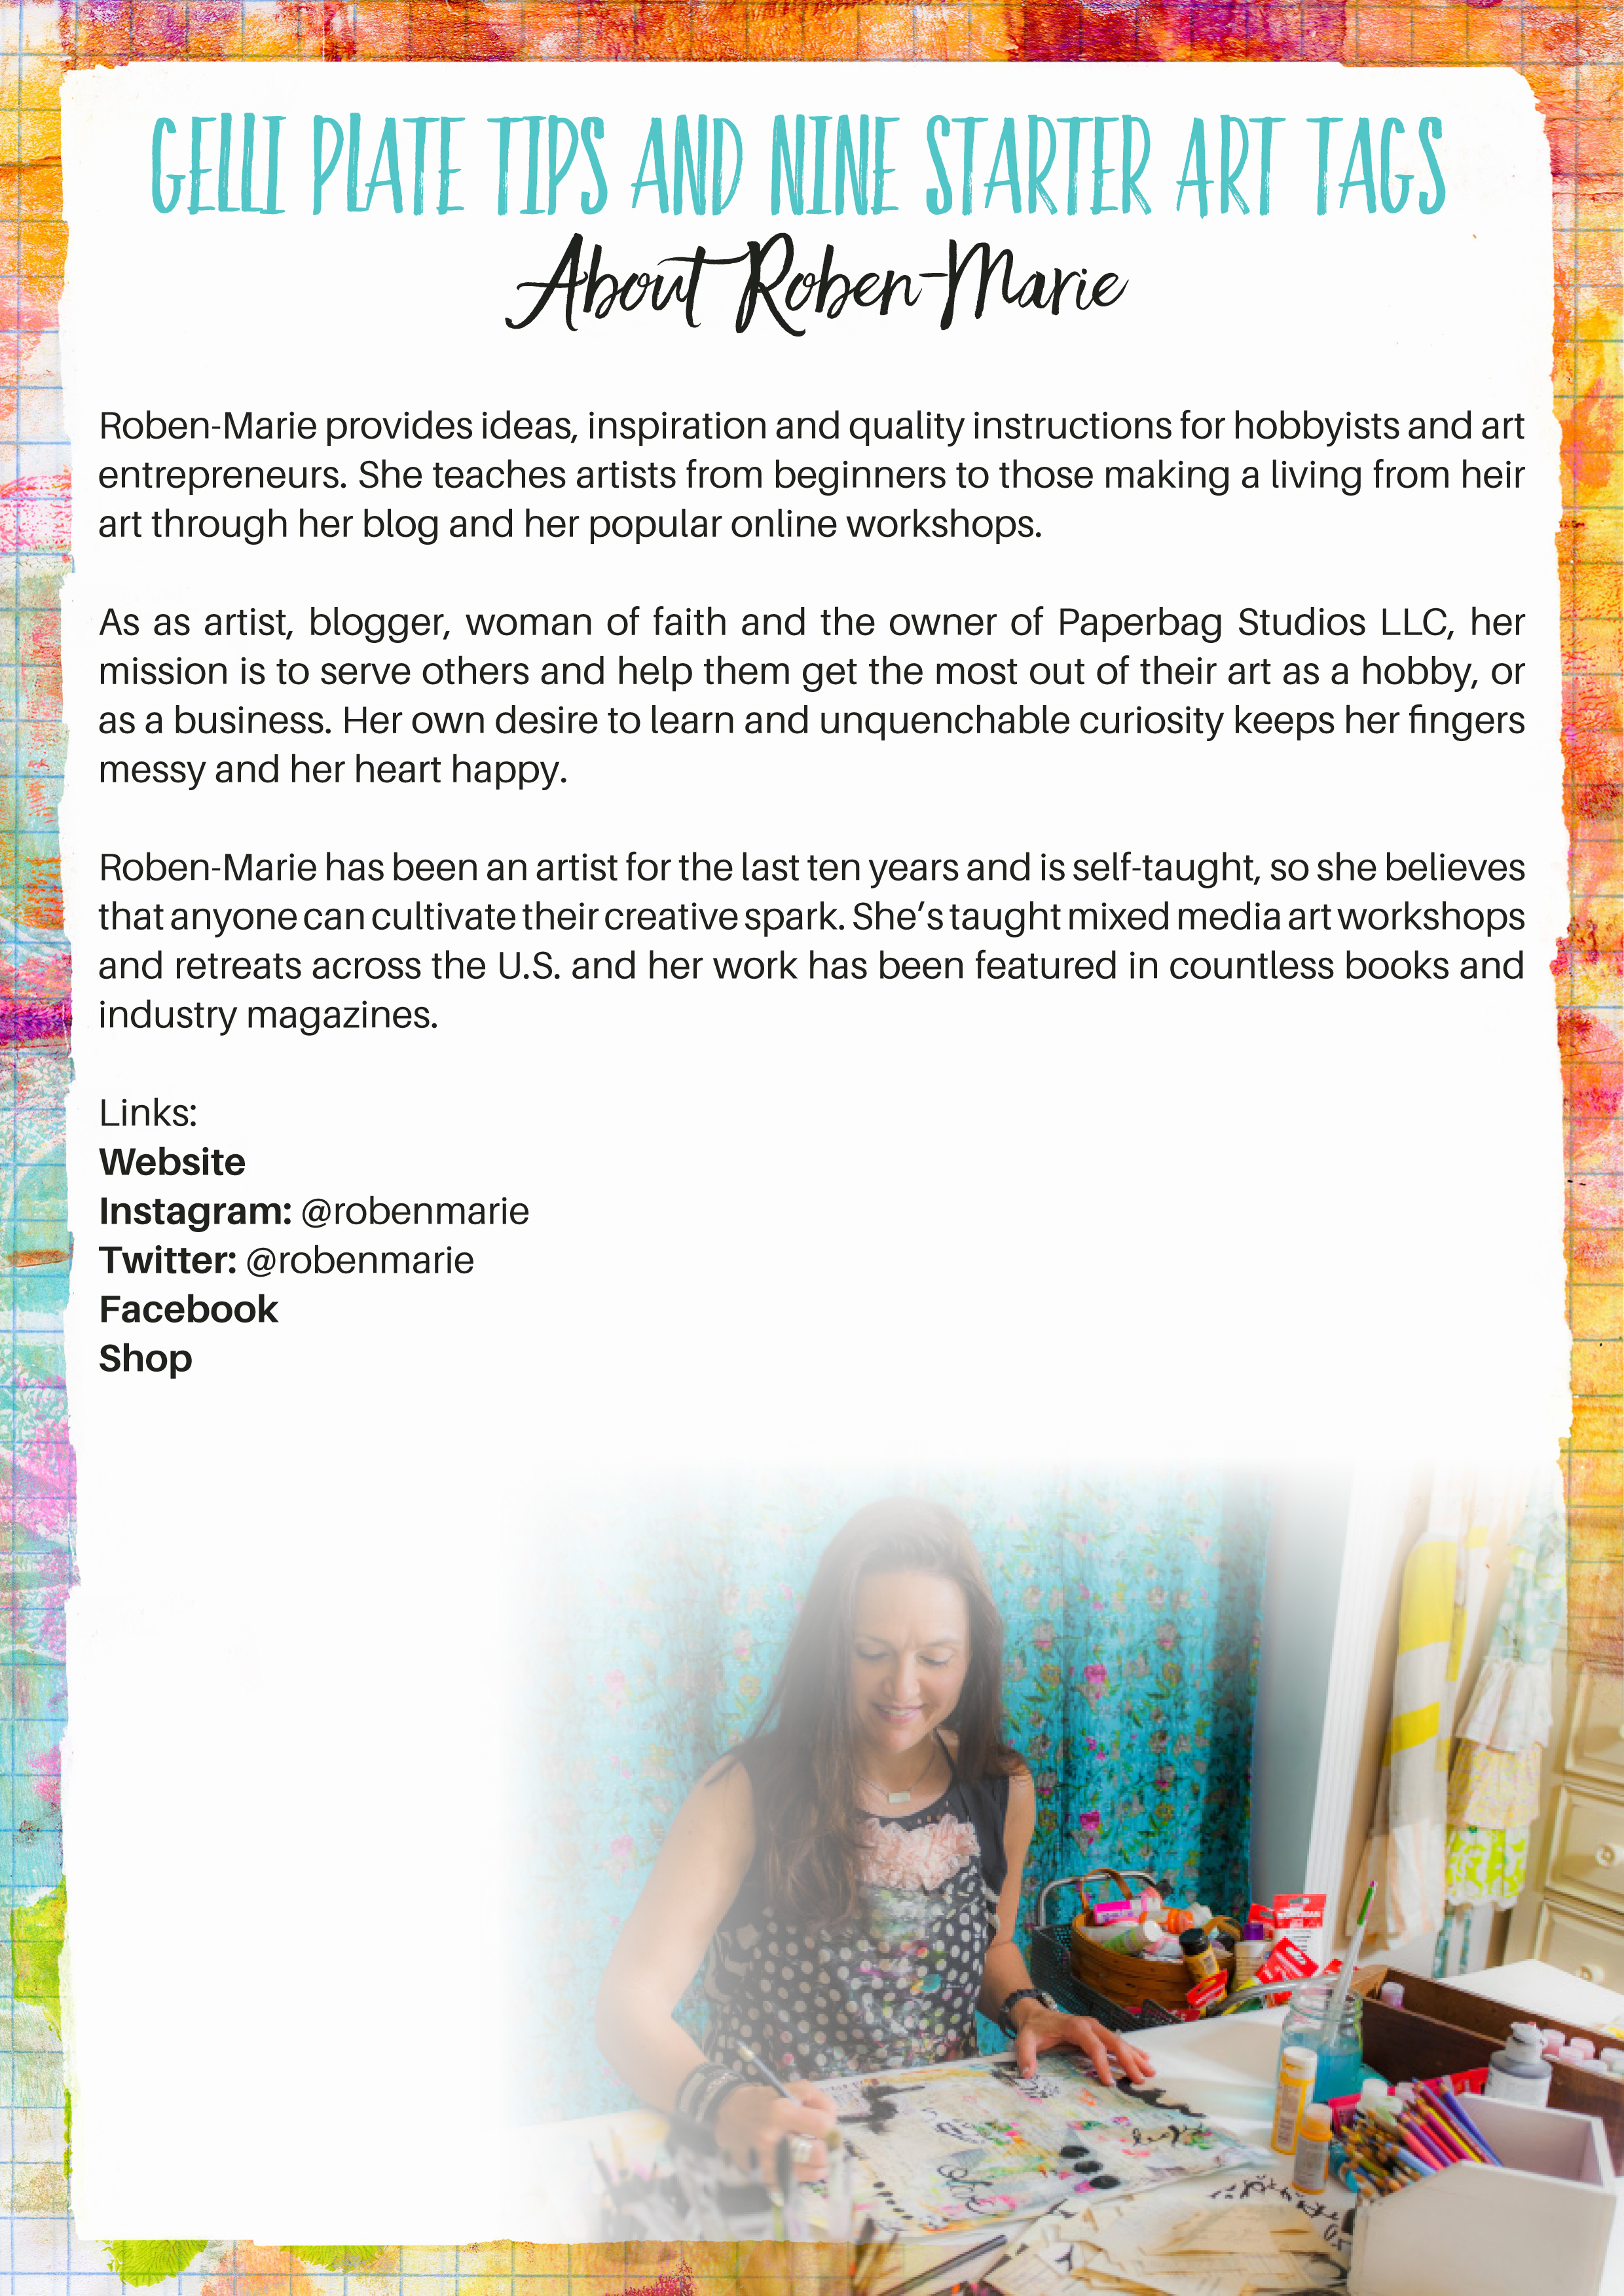
About Roben-Marie
As an artist, instructor and woman of faith, my mission is to serve others and help them get the most out of their art as a hobby, or as a business. My own desire to learn and unquenchable curiosity keeps my fingers messy and my heart happy. I am the founder of Maker’s Tech U and co-host of the Creatives Get Real Podcast.
Supplies Used
Gelli Arts 8 x 10 Gel Printing Plate
Acrylic Paints, Assorted Colors
Ranger Inkssentials Craft Tags
Construction Paper
Graph Paper
12x12 Stencil Live Love Laugh
Strathmore Rough Newspaper Pad
Brayer
Watercolor Paper
Spray Bottle Light Mist
StencilGirl Stencils, assorted

